This post contains affiliate links.
My one and only Prime Day purchase was a projector so that we could enjoy the occasional outdoor movie night. My kids went crazy over it and I wanted to find a way to be able to use it year round.
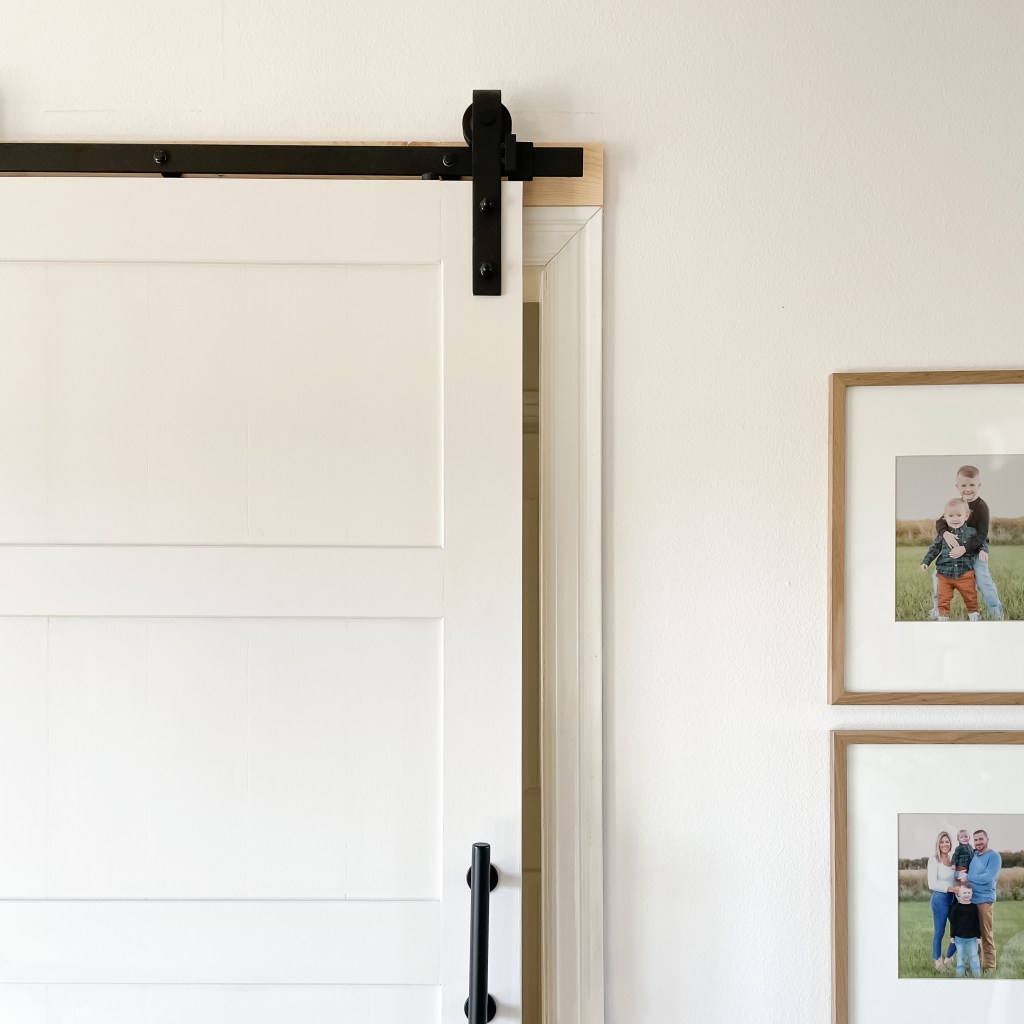
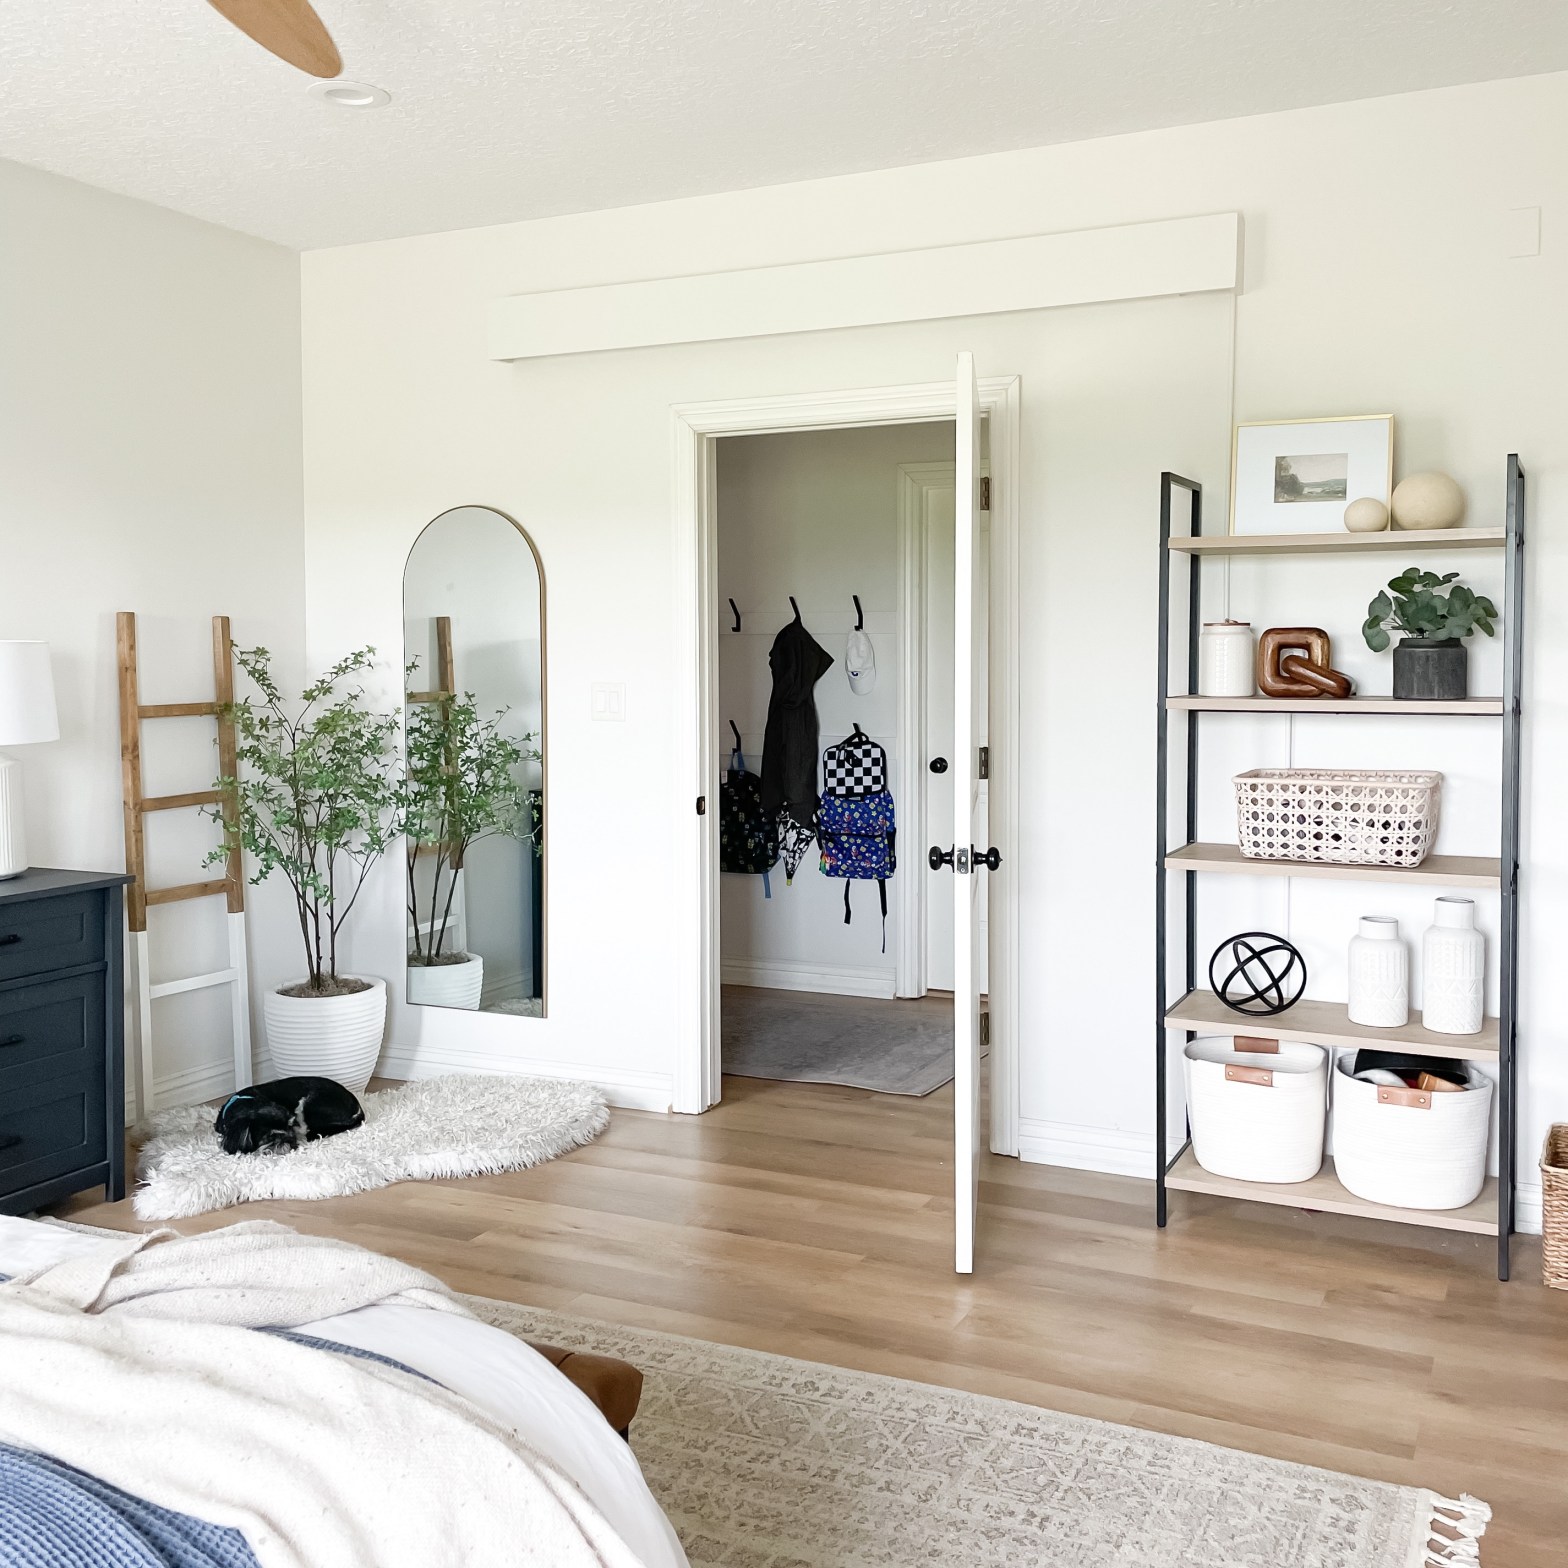
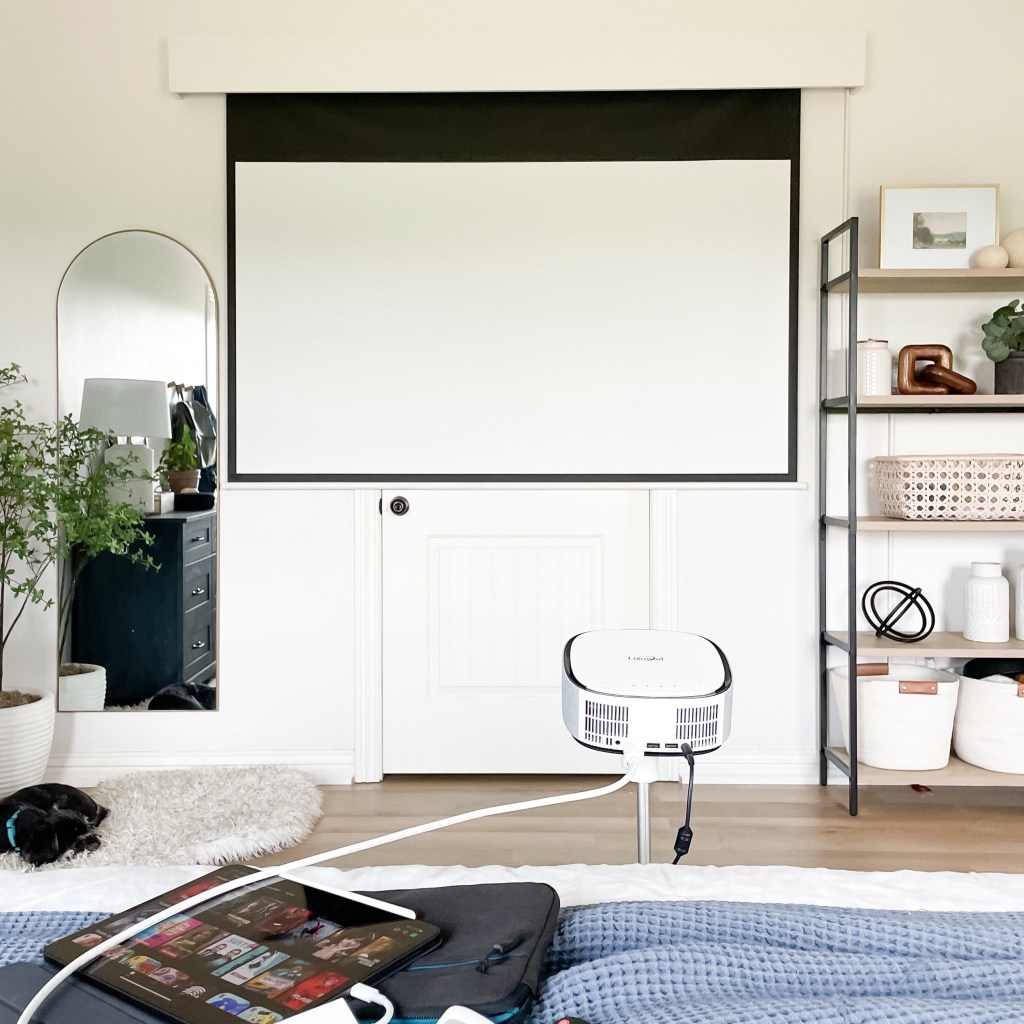
Since we don’t have a tv in our bedroom I had the idea to hang a retractable screen over our door. Yes, I know. Over the door isn’t the most ideal spot but in all reality it won’t be as big of an issue as most people seem to think. The projector we have can only be used in the evening so kids barging through the door is unlikely. They’ll either be asleep or in the room watching with us. PLUS – we do have a lock on the door. Just in case. But just to clarify: YOU DON’T HAVE TO HANG YOUR SCREEN OVER A DOOR. That is all. 😂
Because I didn’t like the idea of seeing the actual screen hanging on the wall I decided to build a cornice of sorts to conceal the screen and make it look more finished & built in.

Here’s a list of links to all materials I used on this build:
- Heavy duty wall anchors
- 2 1×8 finger joints
- 1 1×4 finger joint
- 5 3” L brackets
- Wood filler
- Paintable caulk
- Paint – Cameo White by Behr
Tools used:
- Stud finder
- Mitre saw (mitre box & hand saw would also work)
- Drill/driver
- Brad nailer
- Kreg pocket hole jig
- Orbital sander
- Corner clamp (optional)
Projector & screen:
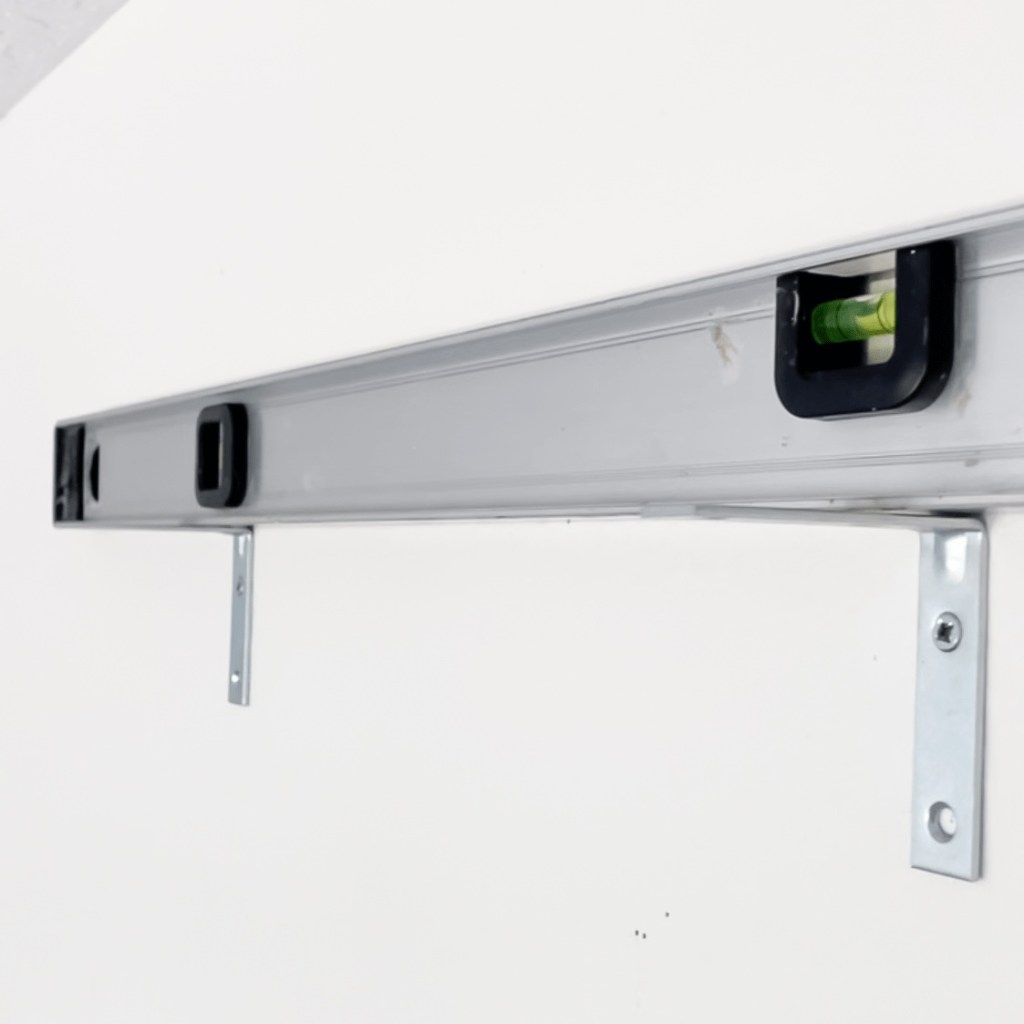
I started by using 2 75lb wall anchors to hang the screen on the wall. Once I got the screen up I located the studs in the wall. I made sure to attach my 3in L brackets to the studs in order to support the weight of the cornice. You have to lift up on the screen to get it off the anchors so I hung the brackets a few inches above the top of the screen to provide enough room to take it down if needed.
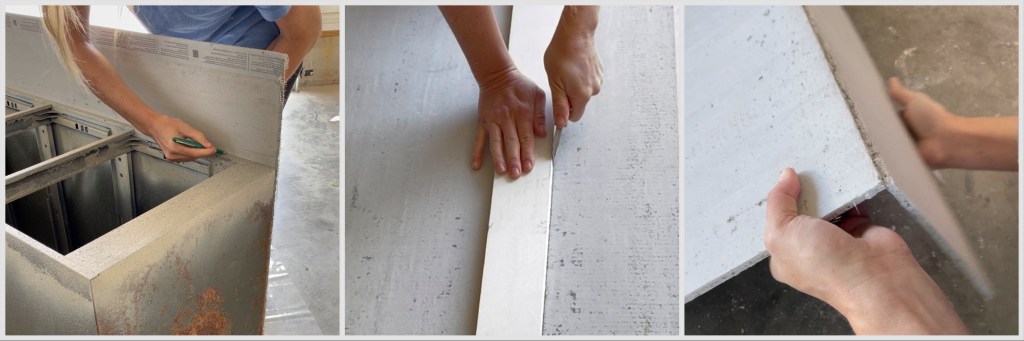
Now that the support brackets were hung it was time to build the box. I chose to mitre the ends at 45° so the seams would be hidden once everything was assembled.

I used a 1×8 for the face & sides and a 1×4 for the top support. The length of your face board will depend on the size of your screen. The outer case on our screen was about 88” so I made the interior dimensions of the box 90” wide. The interior length of the side boards is 3.5” – which is the same length as the top support board (1×4).

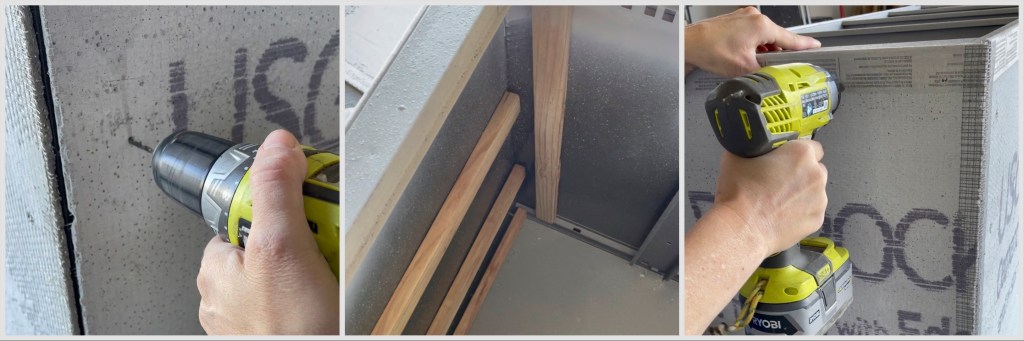
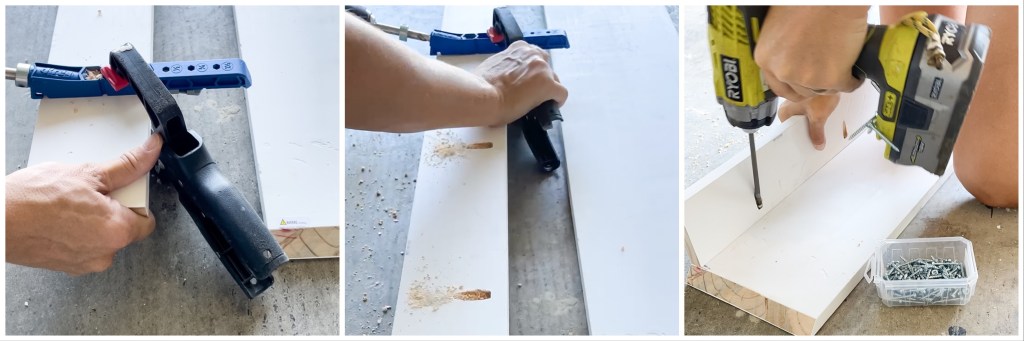
Now that I had everything cut to size it was time to assemble. First I drilled some pocket holes along my 1×4 top support using my Kreg jig. I spaced them about 8-10” apart. Then I screwed the 1×4 top to the 1×8 face board. Then I added the sides using a little wood glue, more pocket holes & a few brad nails on the mitred edge.
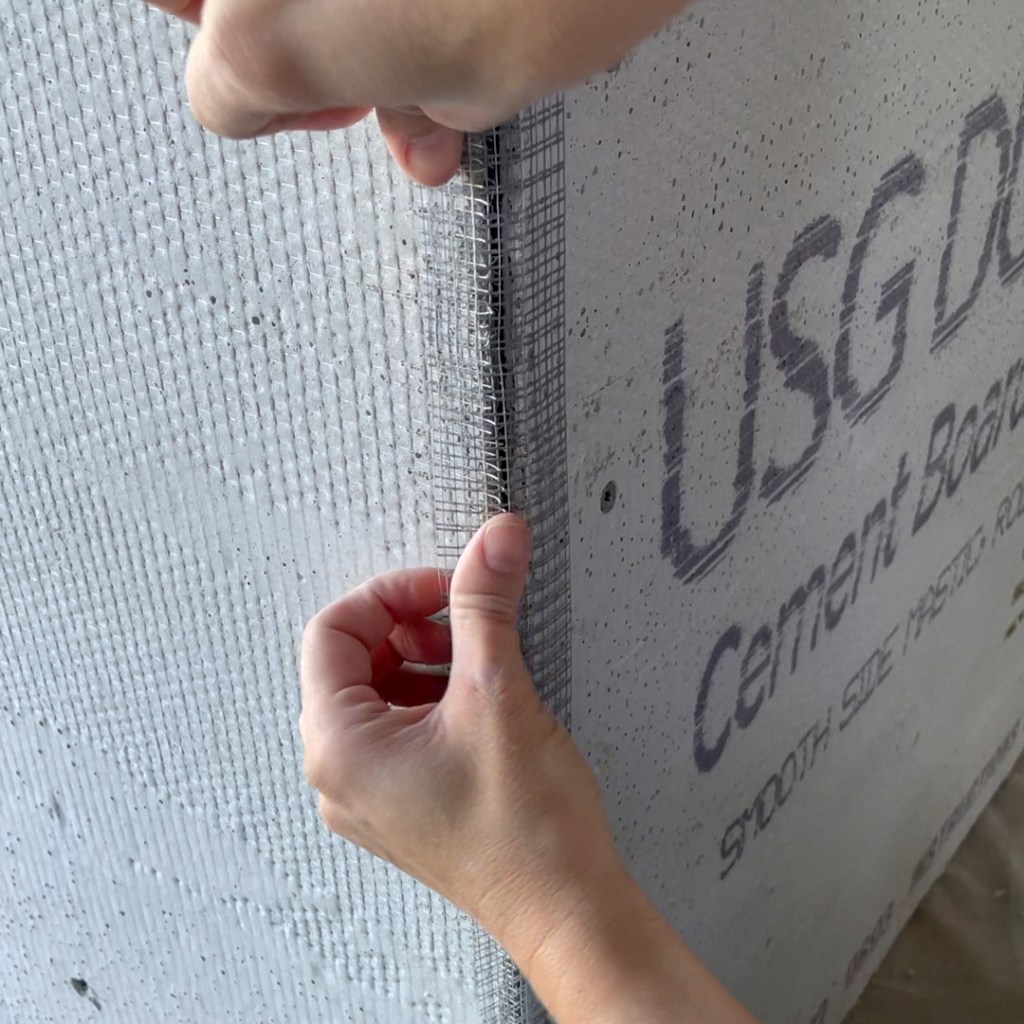
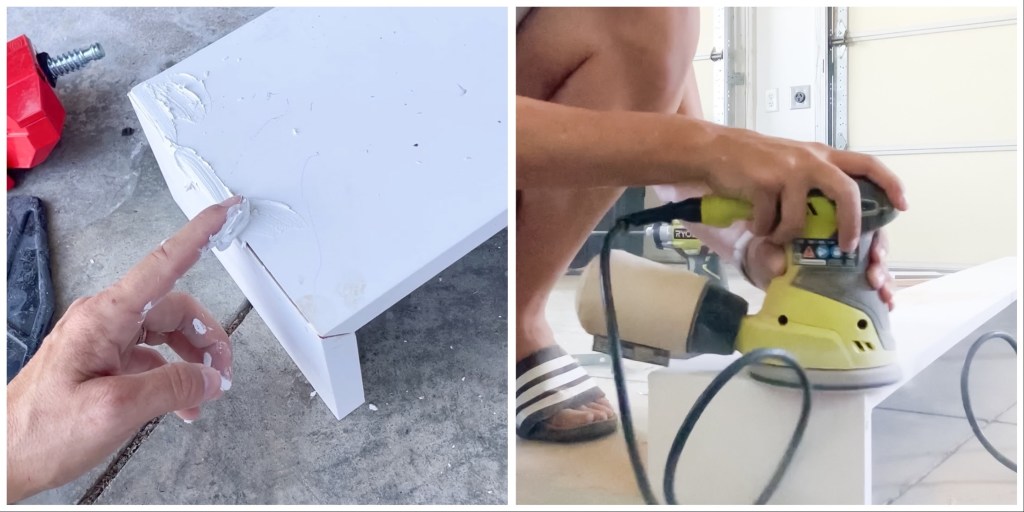
You can wood fill any gaps in the seams that might be visible. Once the wood filler is dry, sand everything smooth. Now your box is done! It’s time to hang it on the wall.
You’ll have to take your screen down before attaching the box to the brackets. Once the box is resting on the brackets, use 2 small screws to attach the top support to the brackets.

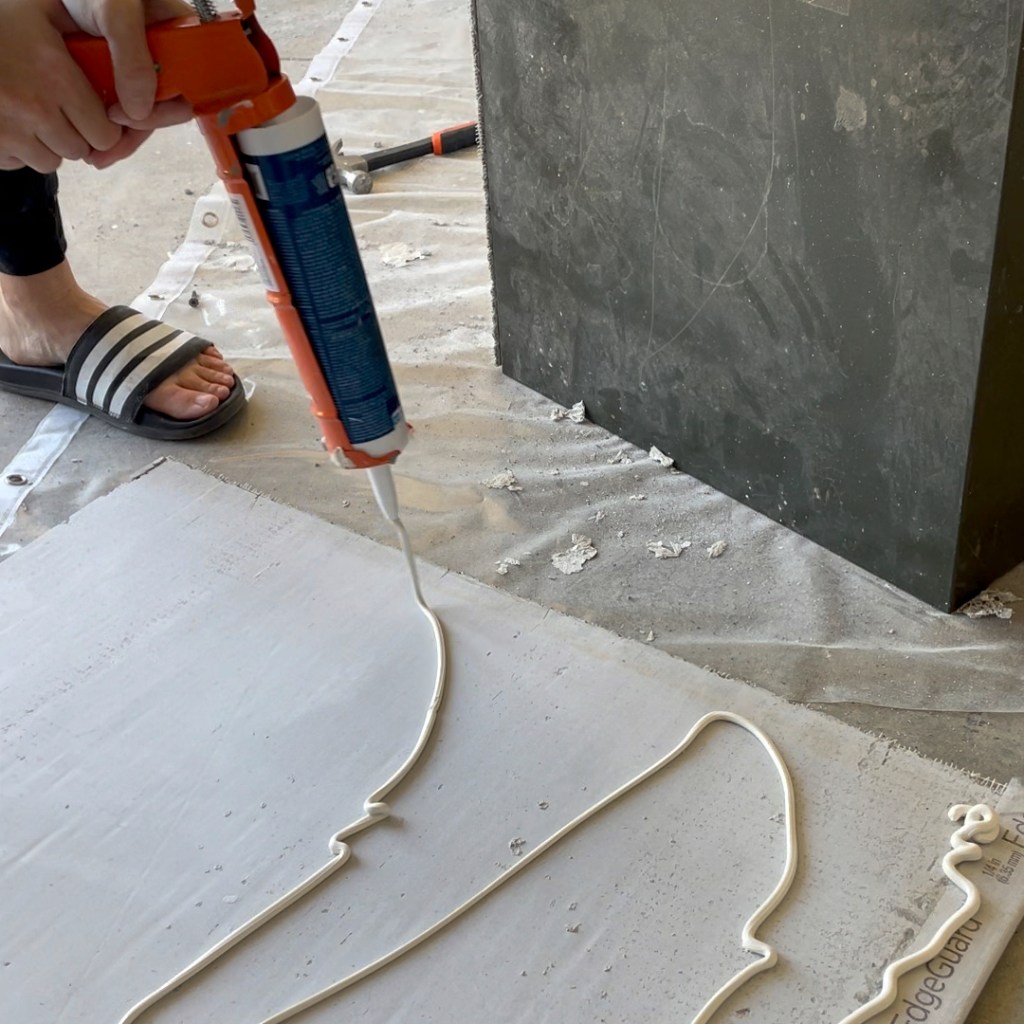
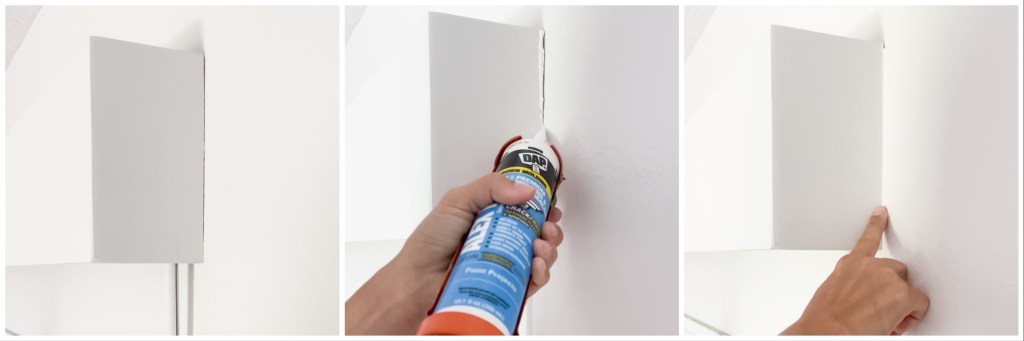
The last steps are to caulk the seams along the walls – I only did the sides and bottom. Then paint. Then rehang your screen. I chose to paint it the same color as the wall, Cameo White by Behr.
Since we have a power cord on our screen I used a paintable cord cover to keep the cord in place & ran it behind a shelf we happened to have on the same wall. It worked out perfectly! Looking in the room you would never even know it’s there. I also want to note that they do have non-powered screens if you don’t have a way to hide a cord.
We store the projector and tripod in a basket on the shelf & put everything away when it’s not in use.
A few notes & tips about the projector:
- It doesn’t work great during the day. I’m sure there are better options out there for daytime use
- It doesn’t have keystone adjustment so this particular projector needs to be pretty even with the screen otherwise you might end up with some picture distortion.
- The picture quality is phenomenal for the price. The darker the better.
- 10/10 recommend using a fire stick to stream. You just plug it in directly to the projector and use the remote that comes with it to control.
Overall we absolutely LOVE having this projector and we can’t wait to enjoy plenty of outdoor and indoor movie nights this fall & winter.