This post contains affiliate links.
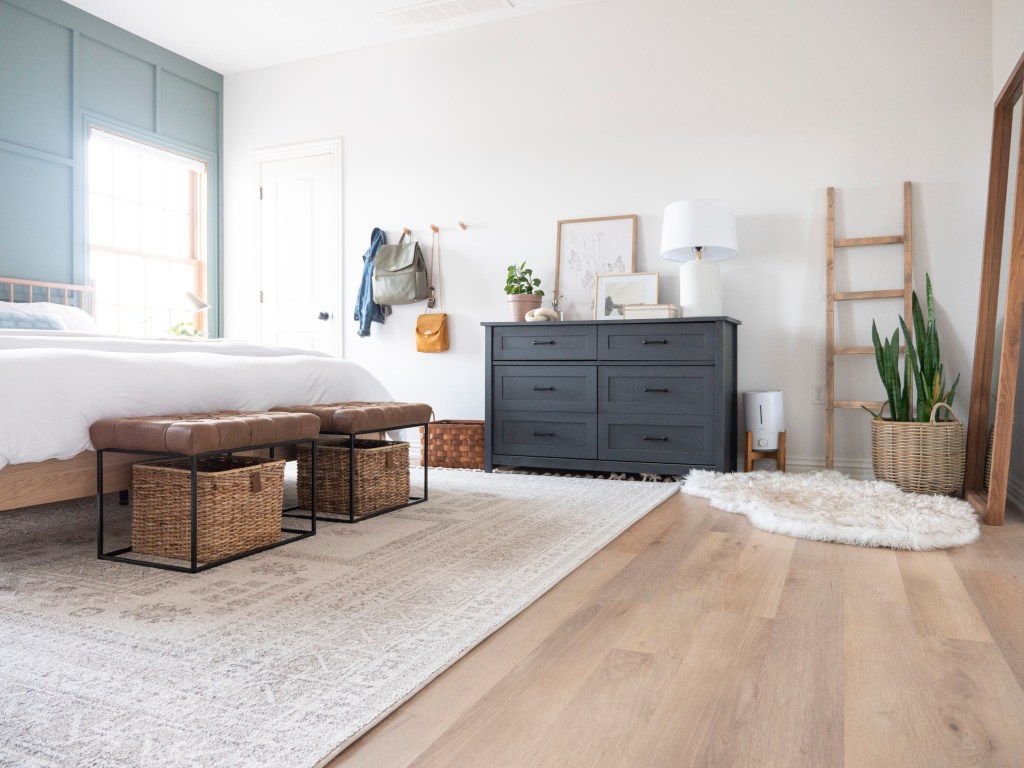
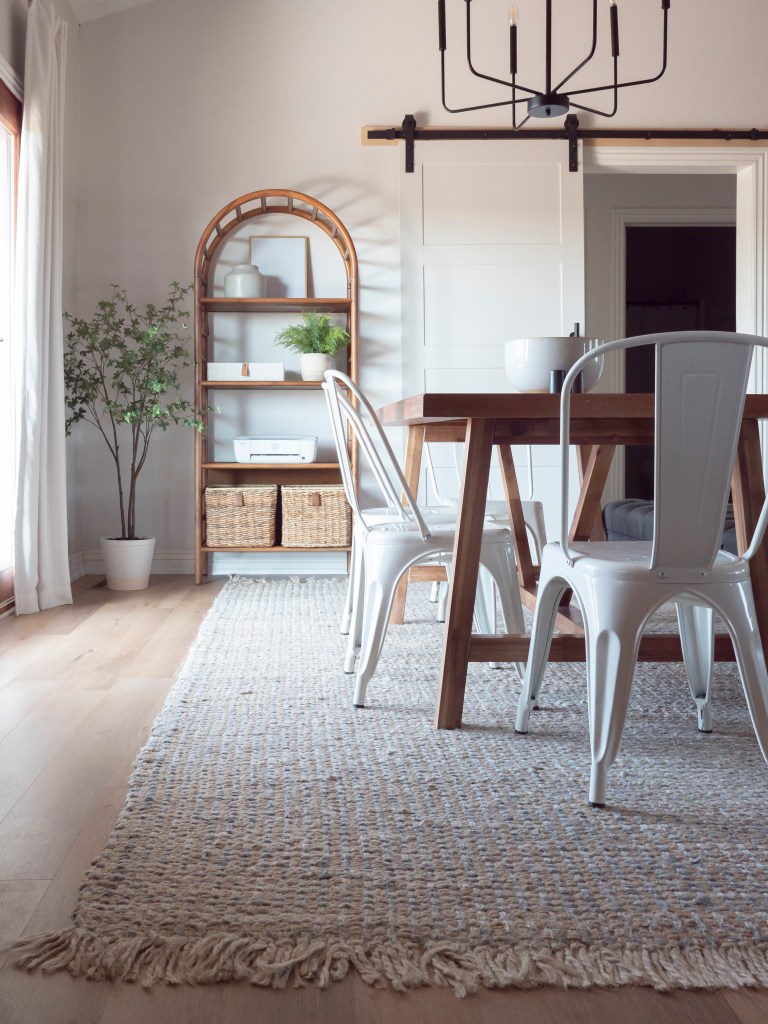
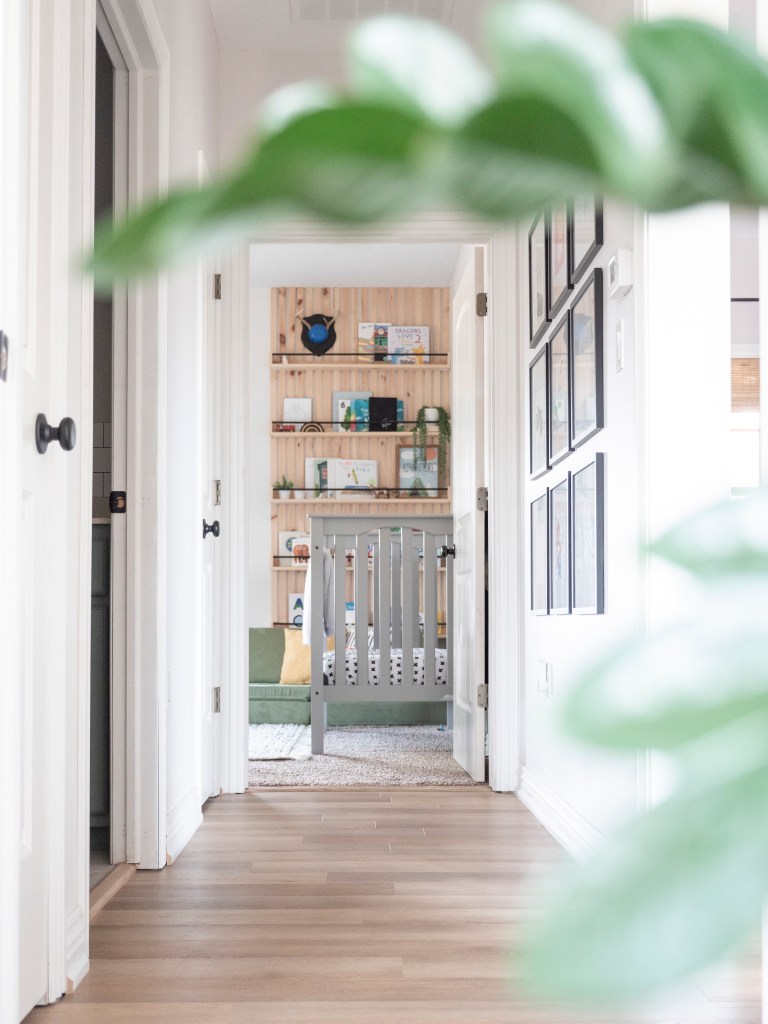
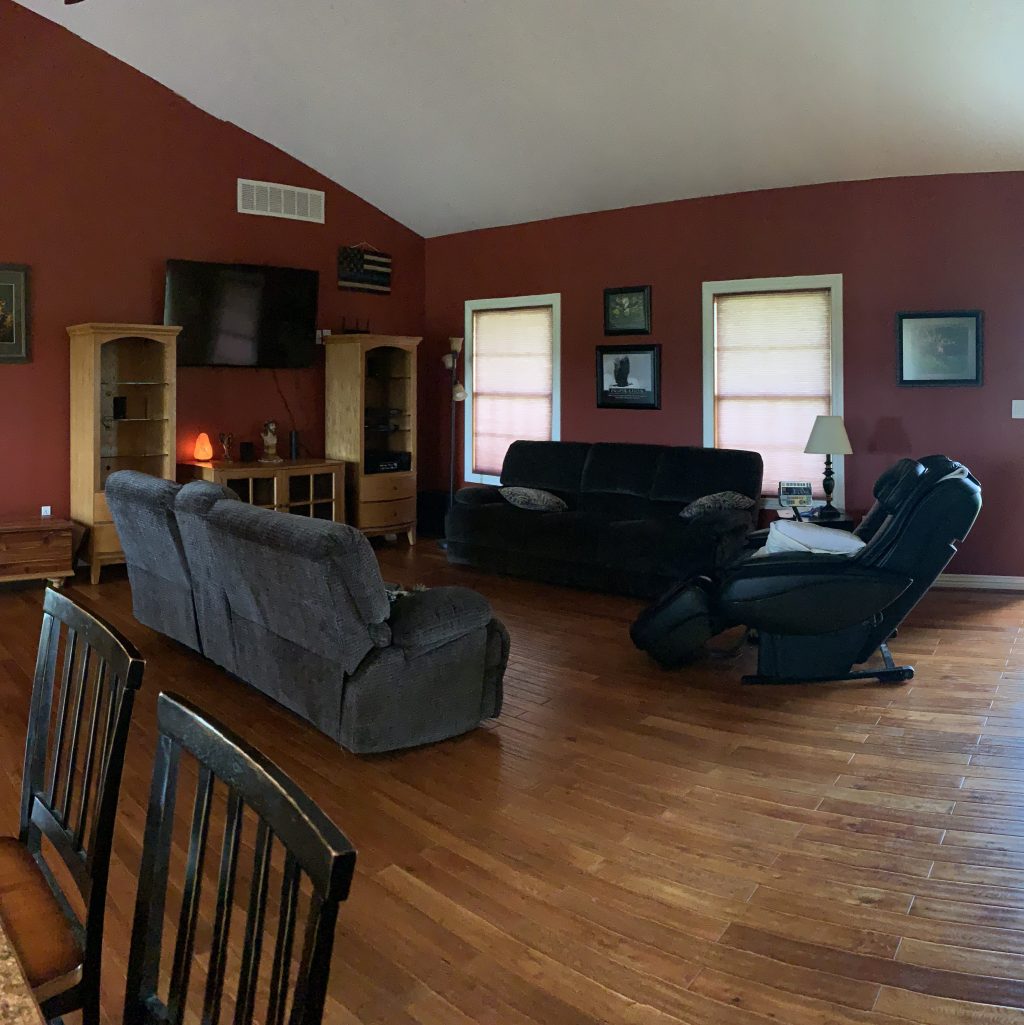
I knew that switching up the flooring in our home was going to be a major task, but I also knew it was going to completely transform our spaces. My husband and I had decided right off the bat that LVP was the way to go. It’s affordable, low maintenance and super durable. With 2 dogs and 2 boys under our roof – it was a no brainer.
We started our search where most people probably start: the hardware store. I grabbed every sample that I thought I liked. Once we got them home, and out of the flourecent store lighting I hated every single one of them. They all looked completely different once we looked at them under the lighting in our home.

After searching the internet for more options, I started getting ads on my social media pages…weird how that happens, isn’t it? That’s about the time I fell in love with Flooret! Every color option I saw I loved and the cost was right within our budget. After doing a little bit of research I decided to order some samples – and that’s when they won me over.
I put their samples to the test to make sure they were going to last. I soaked them in water for 24 hours. I tried scratching them with a fork. I drove hot wheels across them, spilled paint on them…anything I could think of that my dogs or kids could possibly do to ruin these floors. The samples passed with flying colors.
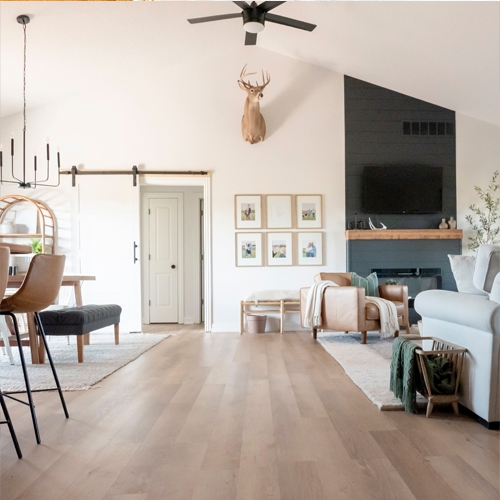
We wanted a lighter wood tone to brighten up our poorly lit great room. The two samples I ordered were Soho and Nakan. I was certain that Soho was going to be my choice, but Nakan was love at first sight. We decided on the Base option which is their 6” wide plank.

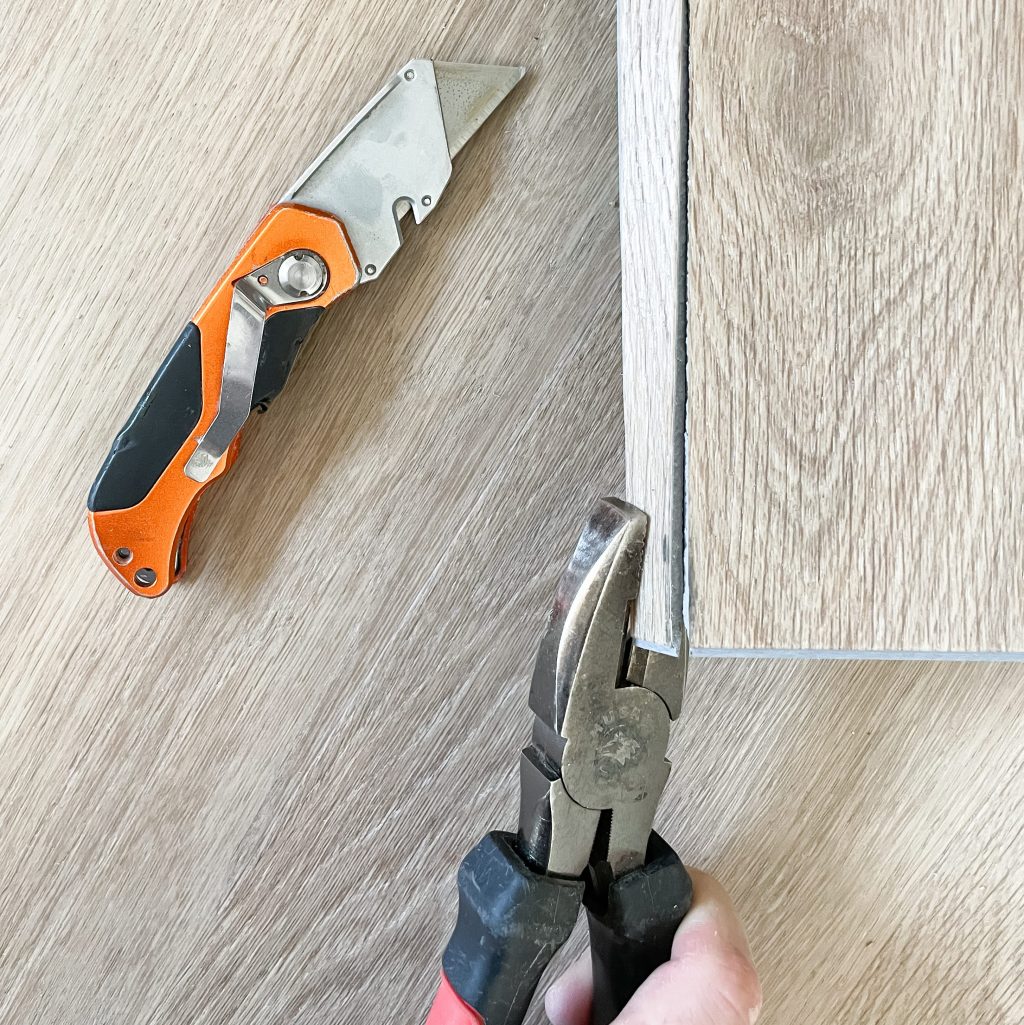
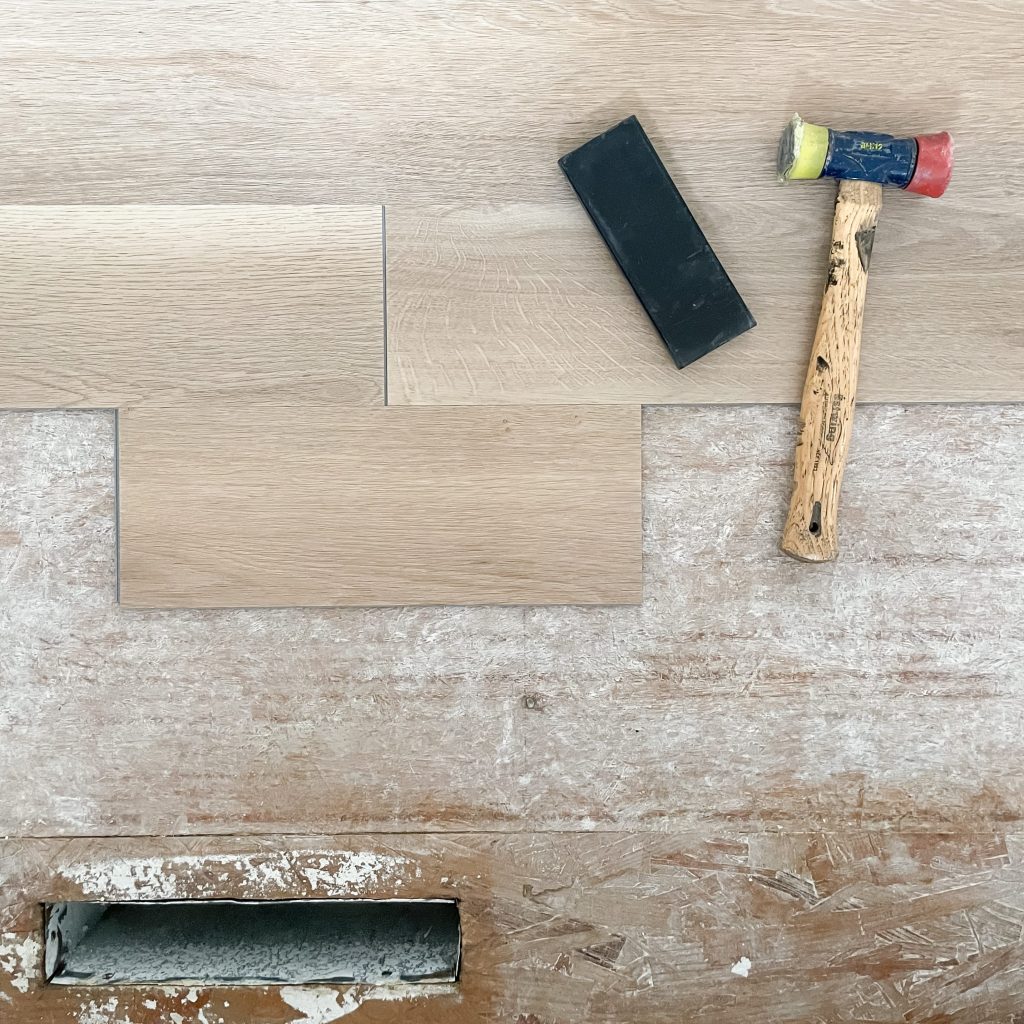
If I’m being completely honest – the installation was a bear. Not because it was difficult…but because we did over 1000 square feet. By ourselves. I won’t bore you with the details but do I have a few takeaways from DIY-ing LVP that are worth noting.
- Make sure your subfloor is COMPLETELY LEVEL. We had a seam on our subfloor that was warped and it gave us some trouble – nothing an orbital sander couldn’t take care of.
- Make sure there is ZERO debris as you lay your planks. We used a shopvac to clear the path as we went.
- Get an LVP install kit and a trim puller.
- Knee pads. Enough said.
- Move everything out of the room if you can! We couldn’t and it sucked having to shift furniture around.
- LVP is thin! You may have to either lower your trim or install moulding to cover and gaps from where the old flooring is laid (if you removed your old flooring like we did).
- Be sure to use spacers! You have to leave room for the flooring to expand/contract. Industry standard is 1/4″ from the wall.
- Watch for repeat planks. There are a good variety of plank designs but you’ll come across some duplicates occasionally. Make sure you pay attention.
- Flooring should to be inside to acclimate for at least 48 hours before installation.
If you’d like to see more on our install, check out my Flooret highlight on Instagram. Overall it was a very easy but time consuming process. 1000 square feet is a lot. We were tired and sore but SO happy with the results. 10/10 would recommend Flooret Flooring.
If you’d like to see some samples for yourself – use code houseon610th33 for 33% off.