
This post contains affiliate links.
It’s the most basic of all the seasons: pumpkin season.
Don’t get me wrong – I love a good fall porch display. It’s really the only fall decorating I do aside from sprinkling a few small white pumpkins around the house. Every year we line our front steps with an array of pumpkins and mums. It’s always a good mix of real and faux…and I always spend 2 months picking up the faux from the yard. Midwest winds in the fall are absolutely absurd.
This year I was already dreading the thought of fixing my display day after day so I decided to do something about it. What’s heavy and durable enough to withstand fall in the Midwest? A. Cement.
Here’s a list of what I used to make these concrete beauties.
- Quick Dry Cement
- Large Bucket
- Small Bucket or Planter
- Nylons
- String or Twine
- A hose
- A tree branch (for the stem)
- Paint (optional)
- Spray Polyurethane (optional)
First I mixed the cement in the large bucket. I added a little more water than necessary in order to keep it from drying out. Once you have that mixed, cut the legs off of one of your nylons, stretch it over the top of your small bucket and be prepared to get messy.

Fill the nylons with cement until you’re happy with the size (don’t make it too big or the nylons will rip). Tie the nylon in a knot at the top and trim the excess. Then take your string and tie 3-4 pieces around the cement. See the images for reference. This will create the grooves of your pumpkin.
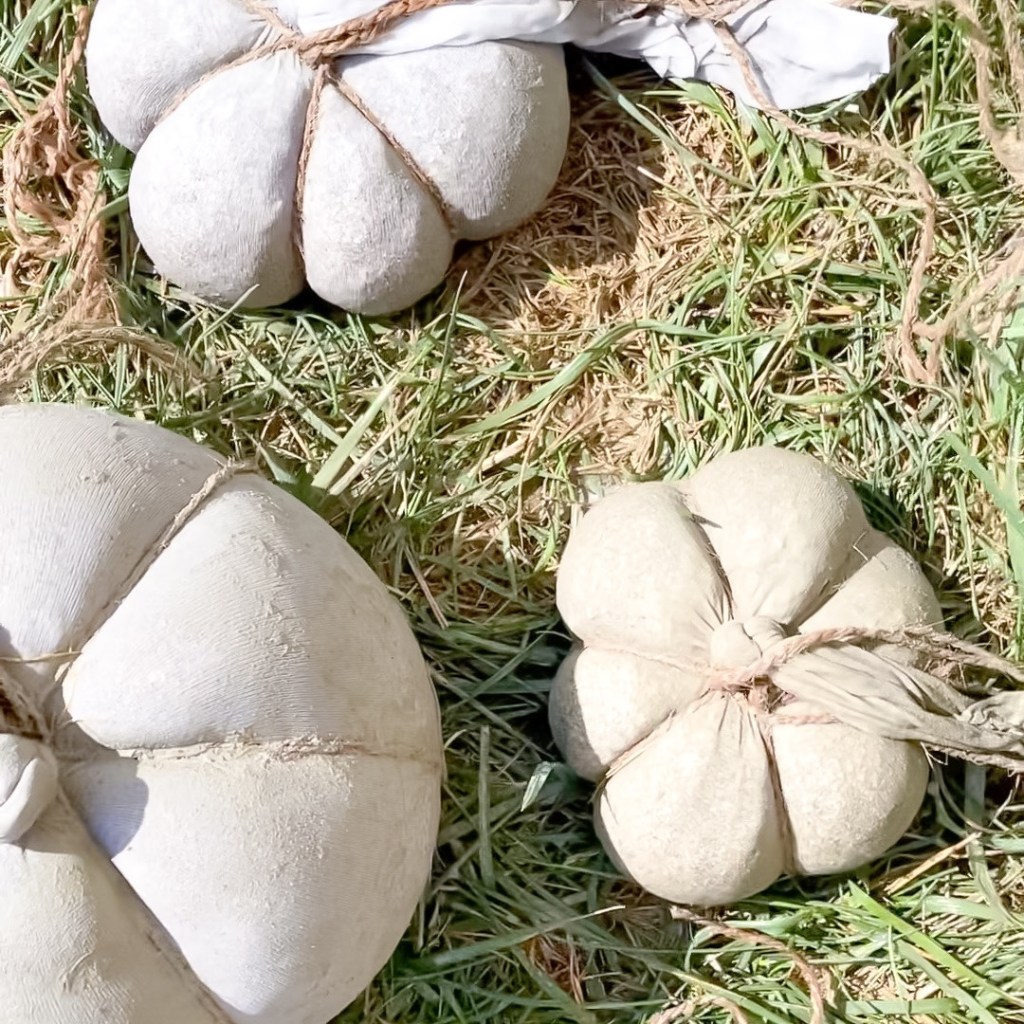
Do this process 5-8 more times. Depending on how big you make them, you should be able to get 6-8 pumpkins from 1 bag of cement and 2 pairs of nylons. Let your pumpkins harden for about 24 hours.
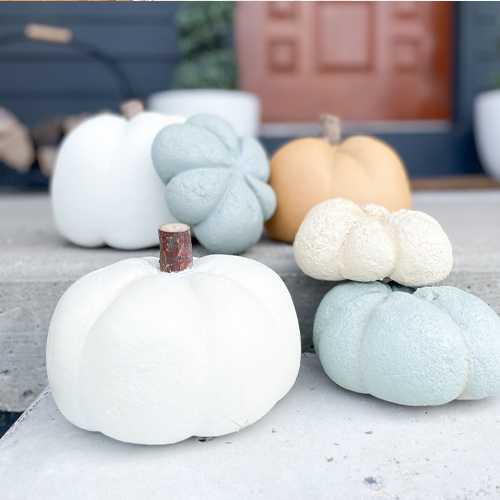
Once the cement is dry, trim the strings and nylons with scissors and ta-da! Unwrap the cutest little concrete pumpkin! I love the cement look. You could totally add some stems and stop here but I chose to paint ours to look more like real heirloom pumpkins.
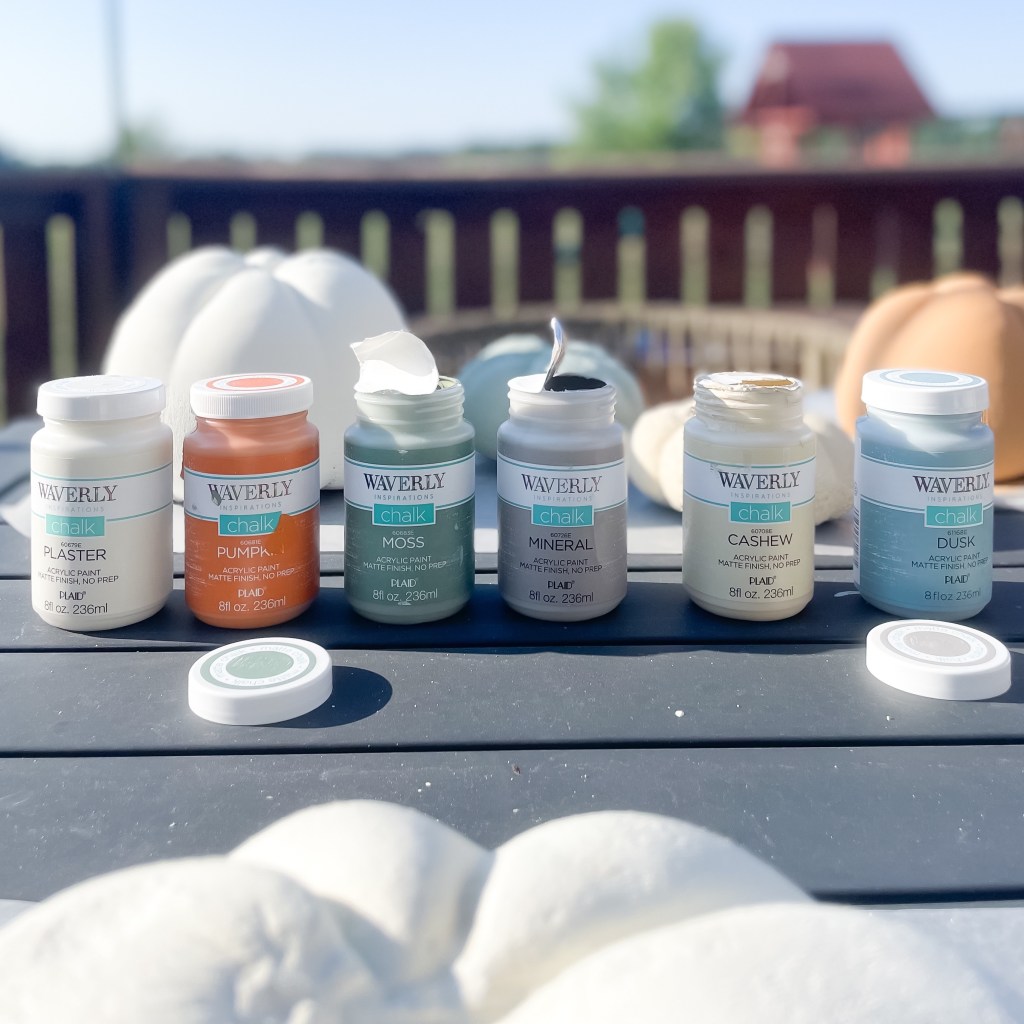
I picked up some chalk paint from the craft section at Walmart. I mixed different portions of these 6 colors in order to achieve the look I was going for: Plaster, pumpkin, moss, mineral, cashew and dusk. Have fun with this part! Get creative, get the kids involved! My boys had so much fun helping.

After painting I hot glued on a small tree branch to give the look of a stem, and I sprayed them down with a polyurethane in order to protect the paint.

I think these turned out SO much cuter than I had anticipated and the best part?? No more picking faux pumpkins out of the neighbors yard!

If you try this DIY don’t forget to tag me! Happy fall!
