This post contains affiliate links.
First things first. I have to give credit to Angela Rose Home for the inspiration for this build. I saw her door a couple of years ago and knew I needed one somewhere in my home.
Her tutorial is linked here if you want to check it out.
Moving on. Like I said, I first saw this door on instagram and completely fell in love. It took me about a day to complete (including several trips to the hardware store) and cost around $250 in materials – hardware included! If you’ve ever priced barn door kits you know this is a steal!
(For reference my door is 84” tall x 40” wide).

Here’s what I used:
- 1 3/4” MDF Panel (8×4 – cut to size in store)
- 11 1x3x8 Primed Pine Finger Joint (chevron pattern)
- 3 1x2x8 Furring Strip (trim)
- Liquid nails
- Wood filler
- Paint (Satin Black by Behr – leftover from another project)
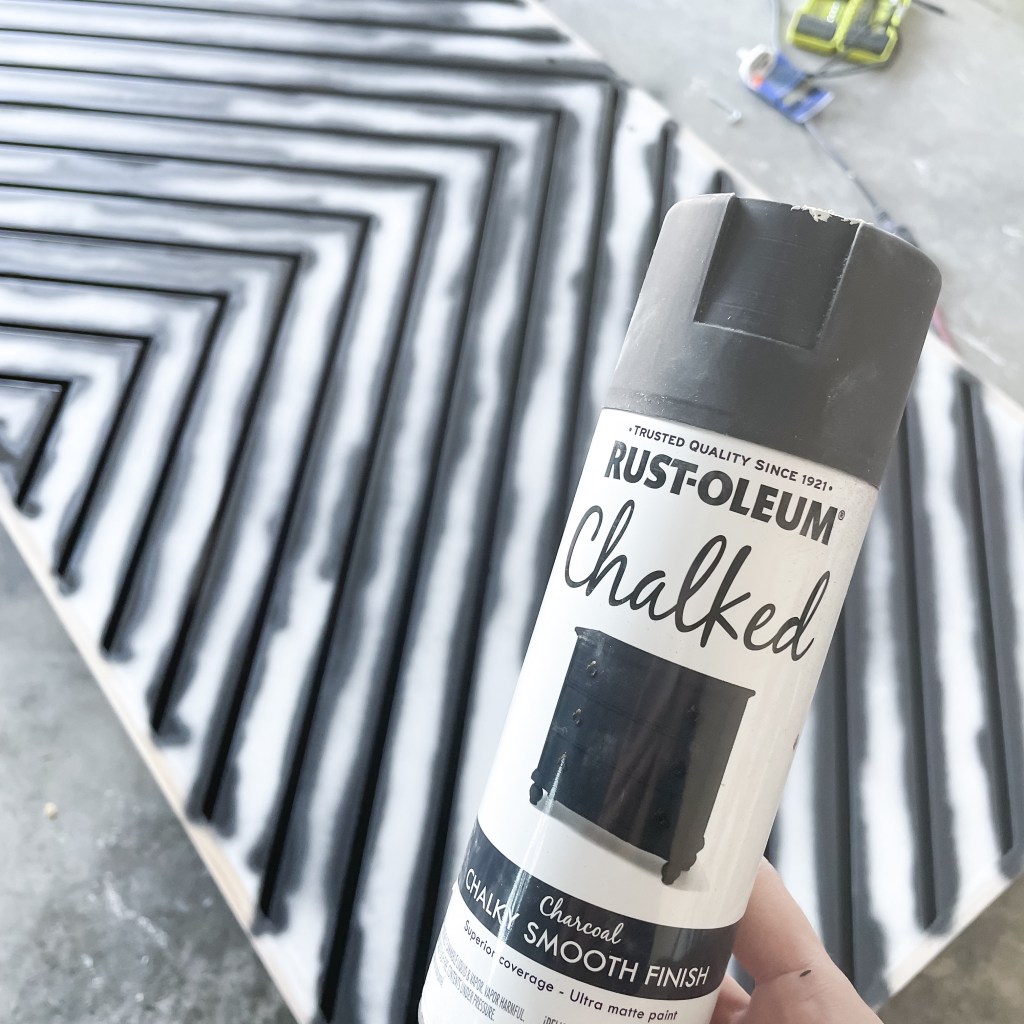
- Spray Chalk Paint – Charcoal
- Brad Nailer (1.25” brad nails)
- Mitre Saw
- Drill
- 12 foot Barn Door Track
- Barn Door handle
Before you head to the store figure out how big you need your door to be. Remember a barn door extends outside of the door frame so these are usually a bit bigger than a traditional door.
As mentioned previously my door is 84” x 40”. I used a sheet of 3/4” MDF as my base layer and had Home Depot cut it to size for me in the store. If you plan on adding trim around the edges like I did be sure to subtract 1.5” from the finished height and width you’re wanting to accommodate the 1×2 trim boards.
Also note that lumber dimensions do not indicate actual size! For example: a 1×2 board is actually 3/4″ x 1.5″.

Once you have your MDF cut down, it’s time to start laying out your design. You can get creative here, but I wanted a symmetrical look so the first thing I did was measure and draw a line halfway down the board. I used this center line as my starting point.

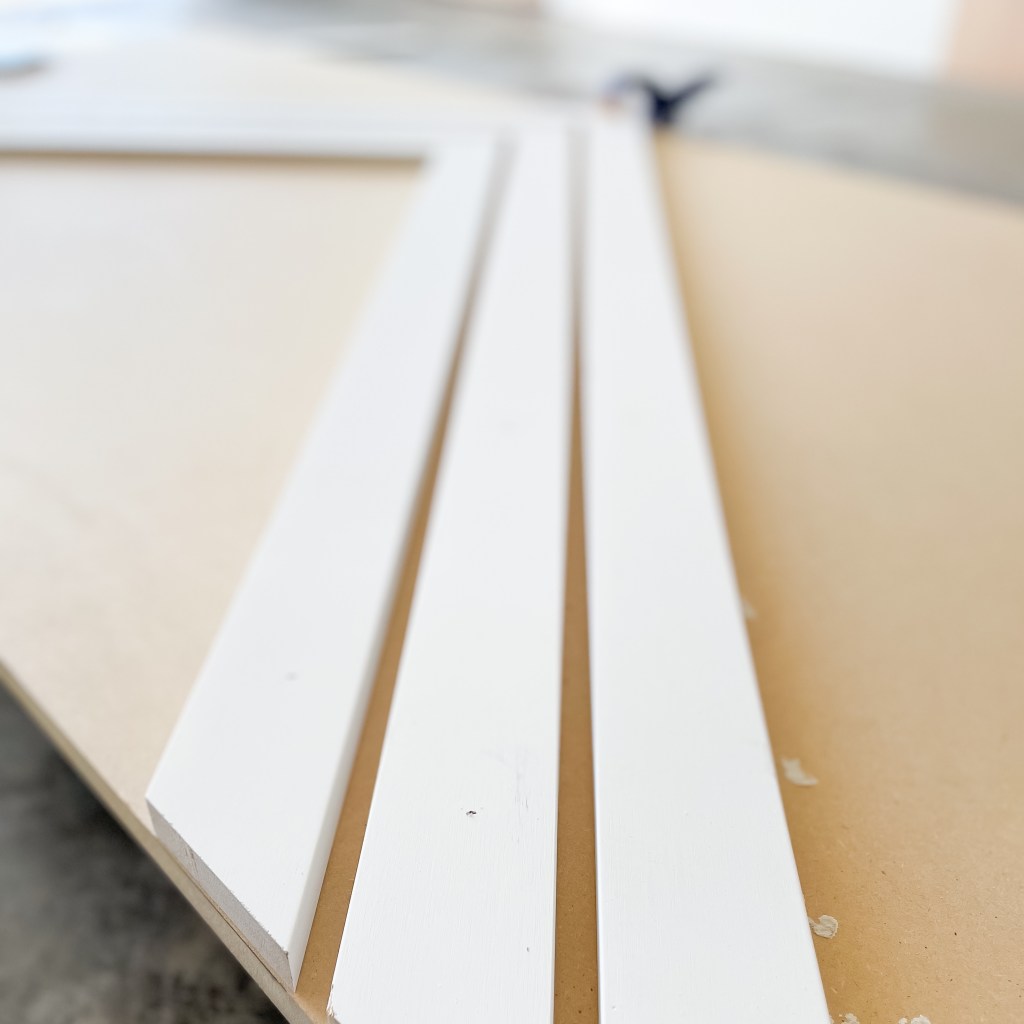
Next I took 2 of the primed finger joint boards and cut one end of each at a 45 degree angle. Using my center line as a starting point I set them in place and marked on the opposite edge where I needed to cut – no measuring required! Once you have your first boards cut to size, add a little bit of construction adhesive and top it off with several brad nails to hold them in place.
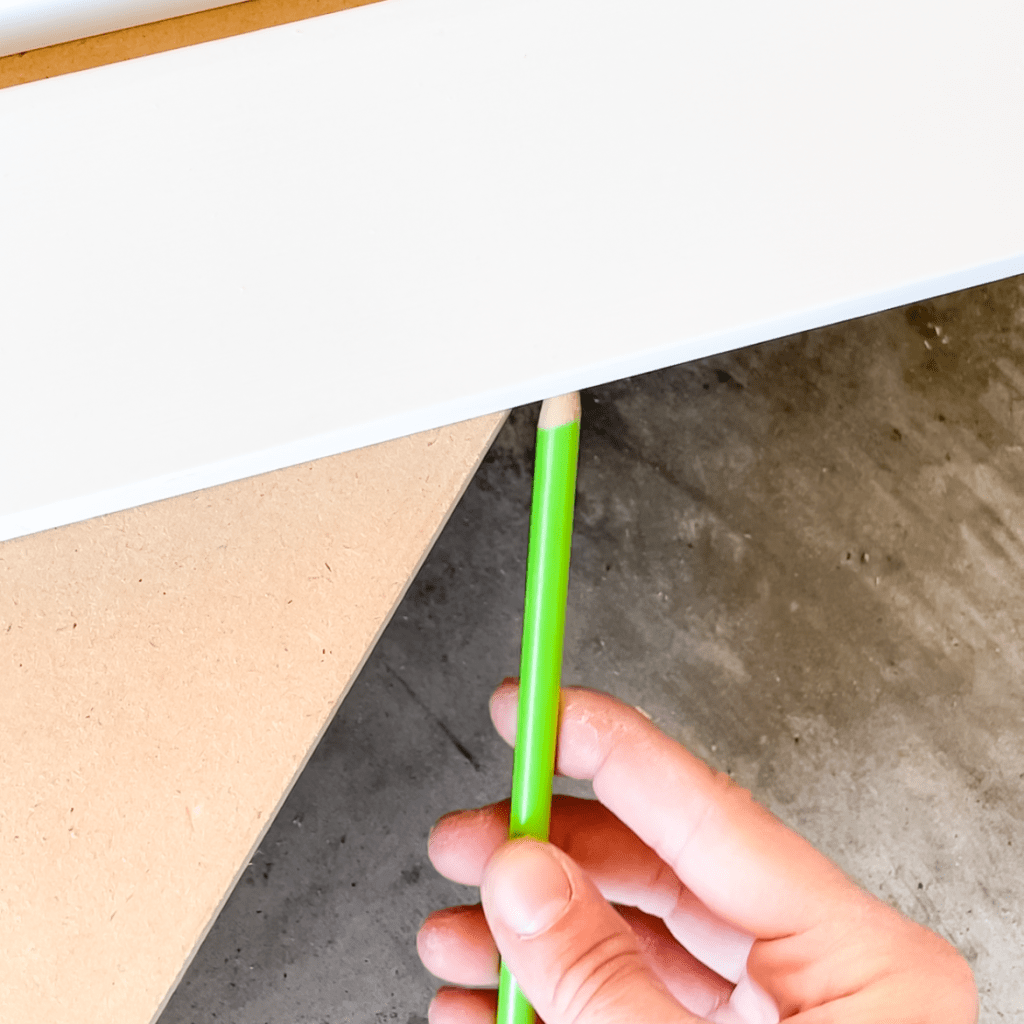
From here I just did the same thing over and over using 1/2” pieces of scrap wood as spacers for my design. Since I kept it simple and only used 45 degree angles this entire process went very quickly.
You may end up with a weird situation in the corner like I did. For this corner piece I had to make 2 cuts. One with the mitre saw angled to the left and one angled to the right. Piece of cake.

Now to trim out the entire door (if you choose to do so). For the trim I used 1×2 boards and beveled the ends (meaning I cut them at a 45 degree angle) to give the corners a nice tight fit. I attached these the same way I attached the finger joint boards. A little adhesive + brad nails. Also one thing to note – the design you just laid out isn’t going to be perfect. Some boards may hang over the edge of your MDF a little. Just sand around the edges so that your trim boards will lay flush.

Now that your door is built, it’s time for the finishing touches. You may have noticed after you attached your trim that there are gaps between the finger joints and the trim. DO NOT PANIC. A little bit of paintable caulk or wood filler and your door will have a seamless, super clean look. Fill the gaps and wipe off the excess. Once it’s dry give the entire door a good sanding. I used 120 grit.

Once you’ve sanded its time for paint. This is where a paint sprayer would come in handy! I chose to paint my door Satin Black by Behr. I used Charcoal Chalk Spray Paint to get into all the hard to reach placed first (it’s essentially the same color), then used a smooth roller to coat the rest of the door. If you don’t have a paint sprayer I highly recommend either cutting in with a brush as you lay your design down OR do what I did and use a paint that’s color matched to a spray paint of some kind. That way you don’t have to struggle getting paint in all the nooks and crannies.
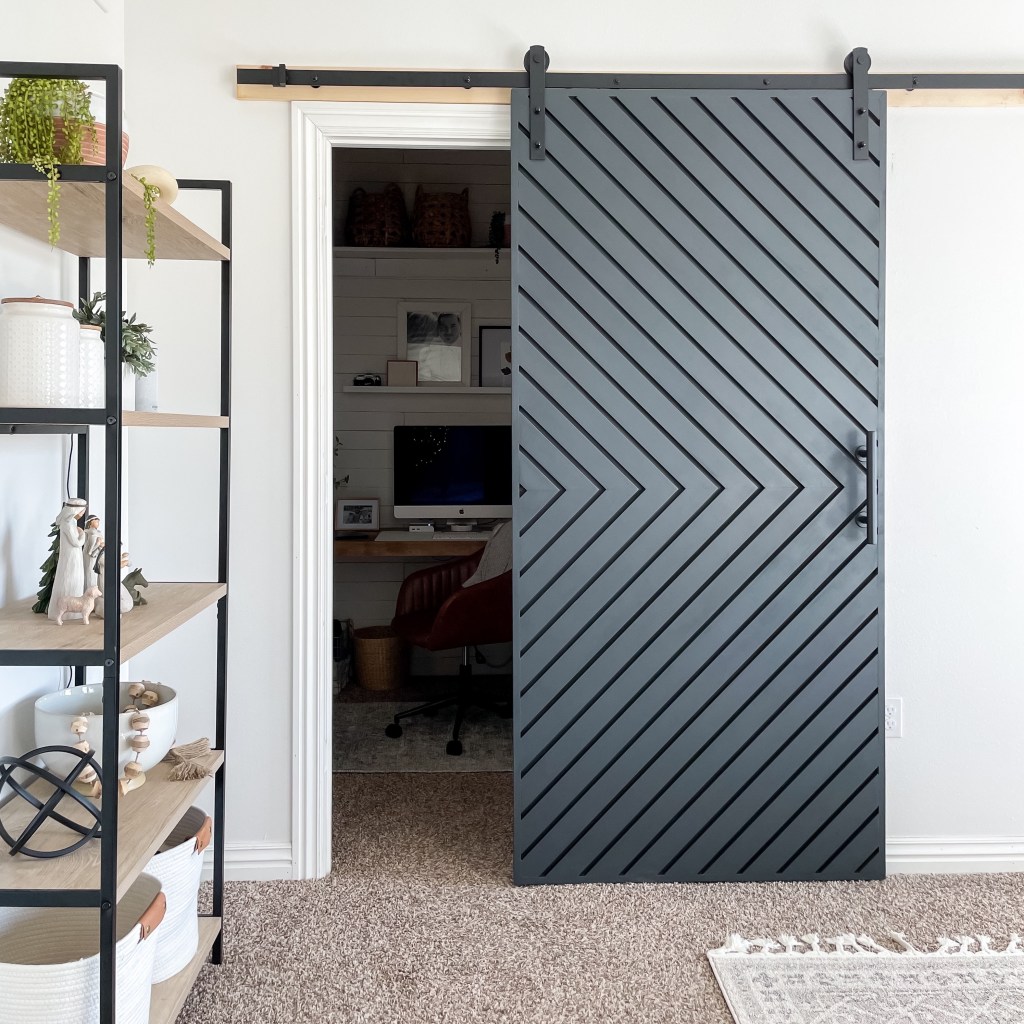
Once your door is dry you can add your hardware and install your door track. I found mine on Amazon and it came with clear instructions on how to hang everything. This door is HEAVY so make sure your track is rated to support 150+ pounds just to be on the safe side.
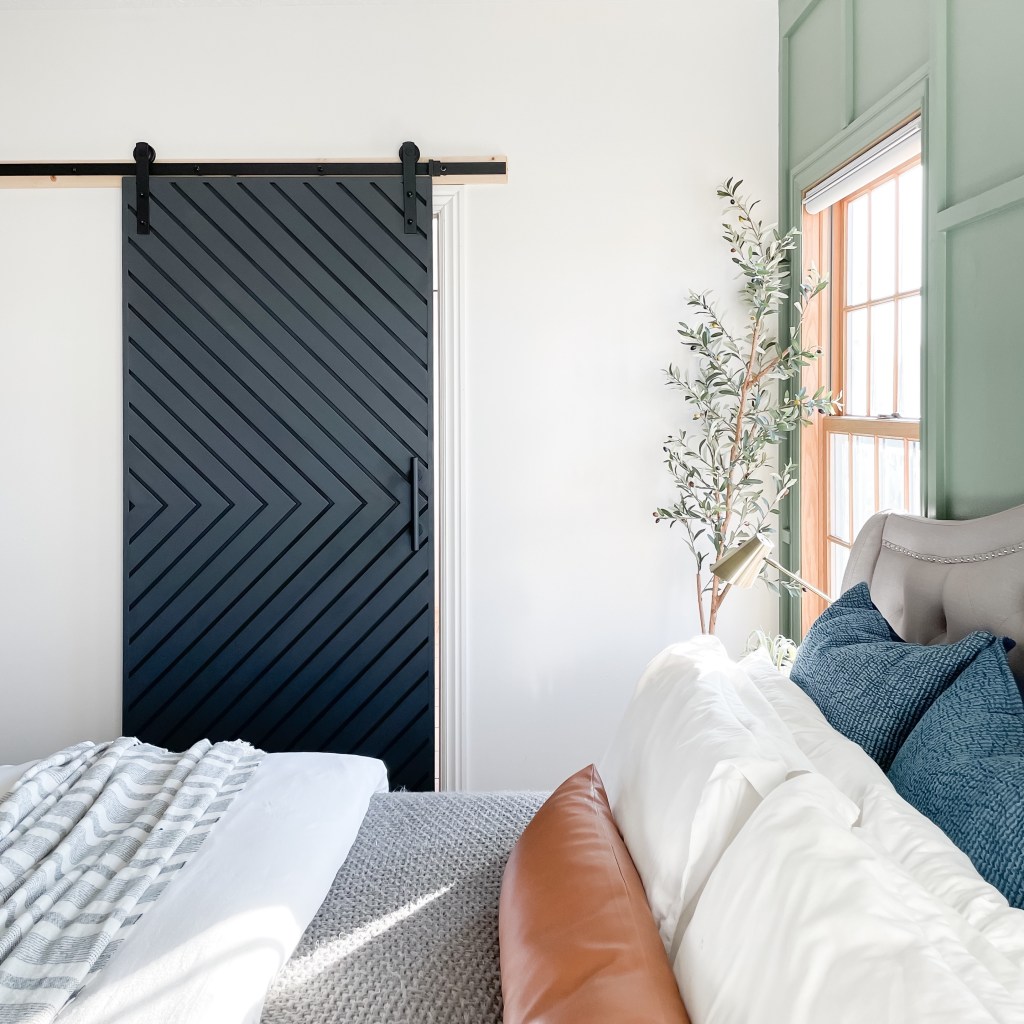
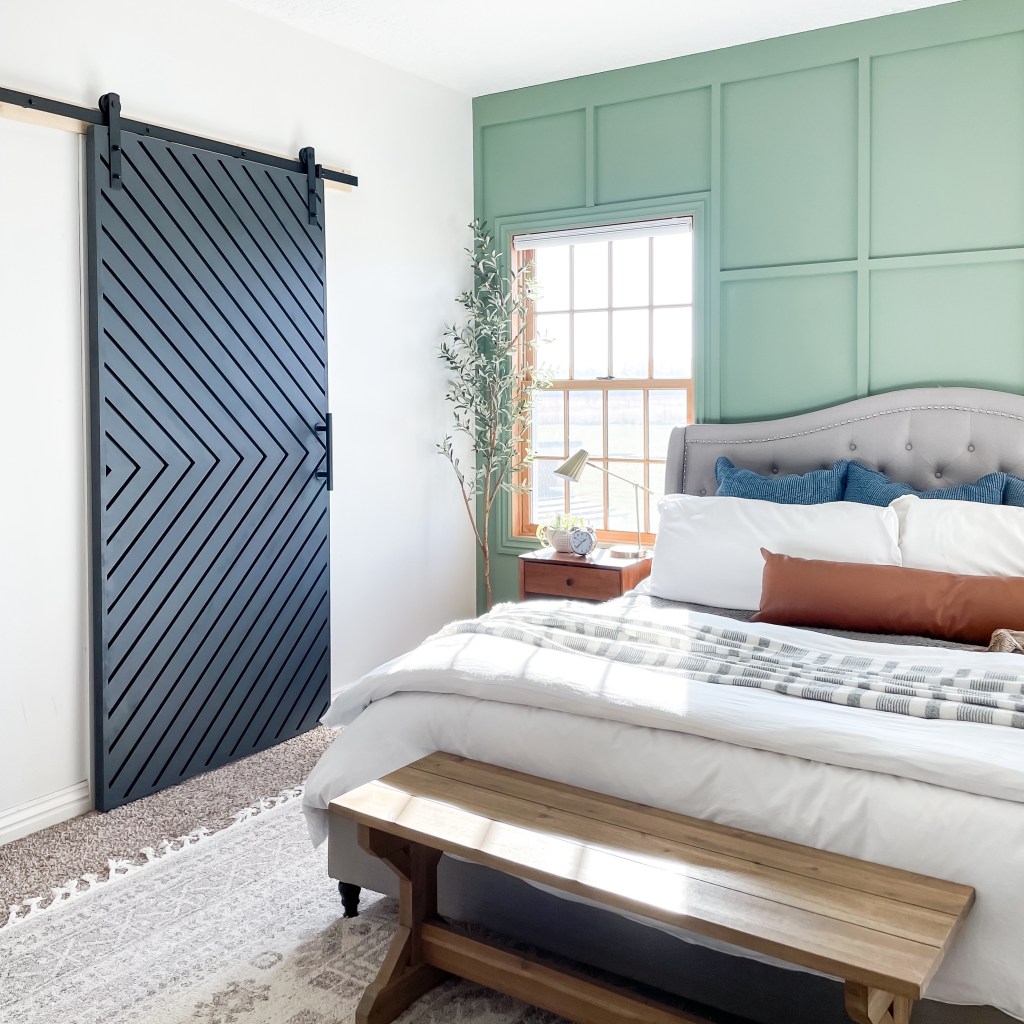
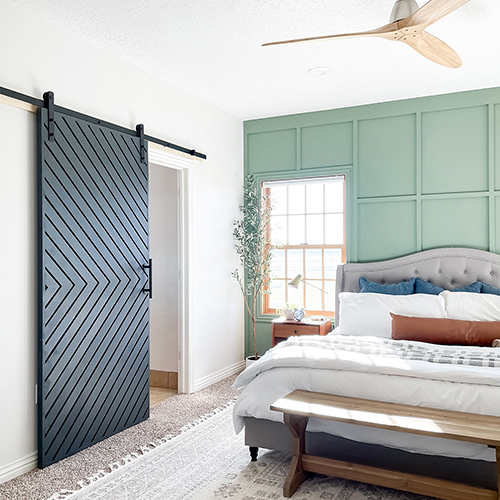
I could not be happier with how this door turned out. It was super easy and made a huge impact on the look of our bedroom. If you try this don’t forget to tag me!
Paint colors: Walls – Cameo White – Behr, Door – Satin Black – Behr, Accent Wall – Eucalyptus Wreath – Behr