

This page may contain affiliate links, which means I will receive compensation if you click through and make a purchase.
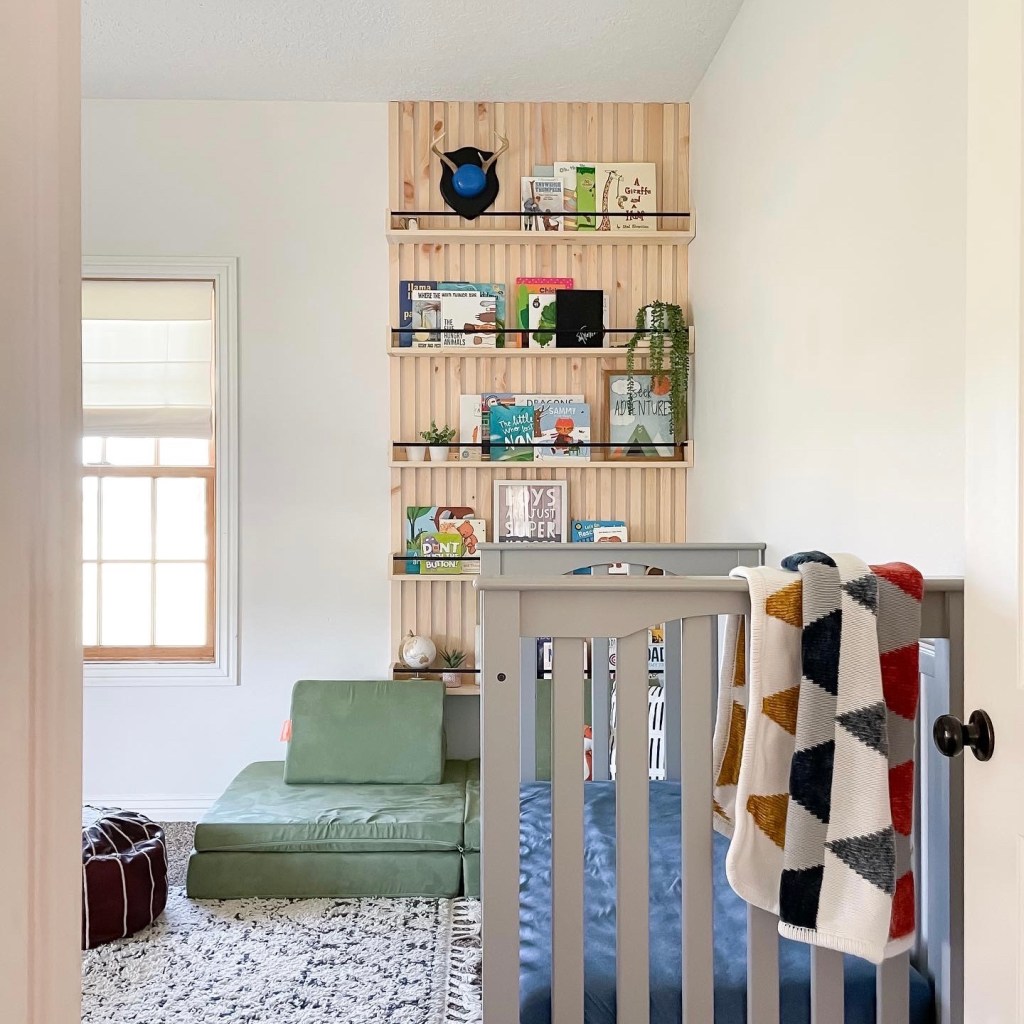
My kids have approximately 35 million books…which I’m certainly not complaining about. They both love to read stories – but it does pose a bit of a storage problem. Originally, I had hung some Ikea picture ledges in their room but it seemed like there was never enough room. I started brainstorming on what we could do – then I came across Kim from @xomyhome‘s post about some slat wall shelving she did for her kids. I absolutely LOVED the look of them. You can see her version here.

So after studying what she did, I got to work on a plan. If you’d like to see my process, I have a bookshelf highlight saved to my instagram.
Here’s what I used for this build:
- 24 1x2x8 boards
- 3 1x2x6 boards
- 5 48″ 1/2″ dowels
- Matte black spray paint
- Wood Glue
- Wood filler
- Mitre Saw
- Brad Nailer
- Drill
- Impact Driver (optional)
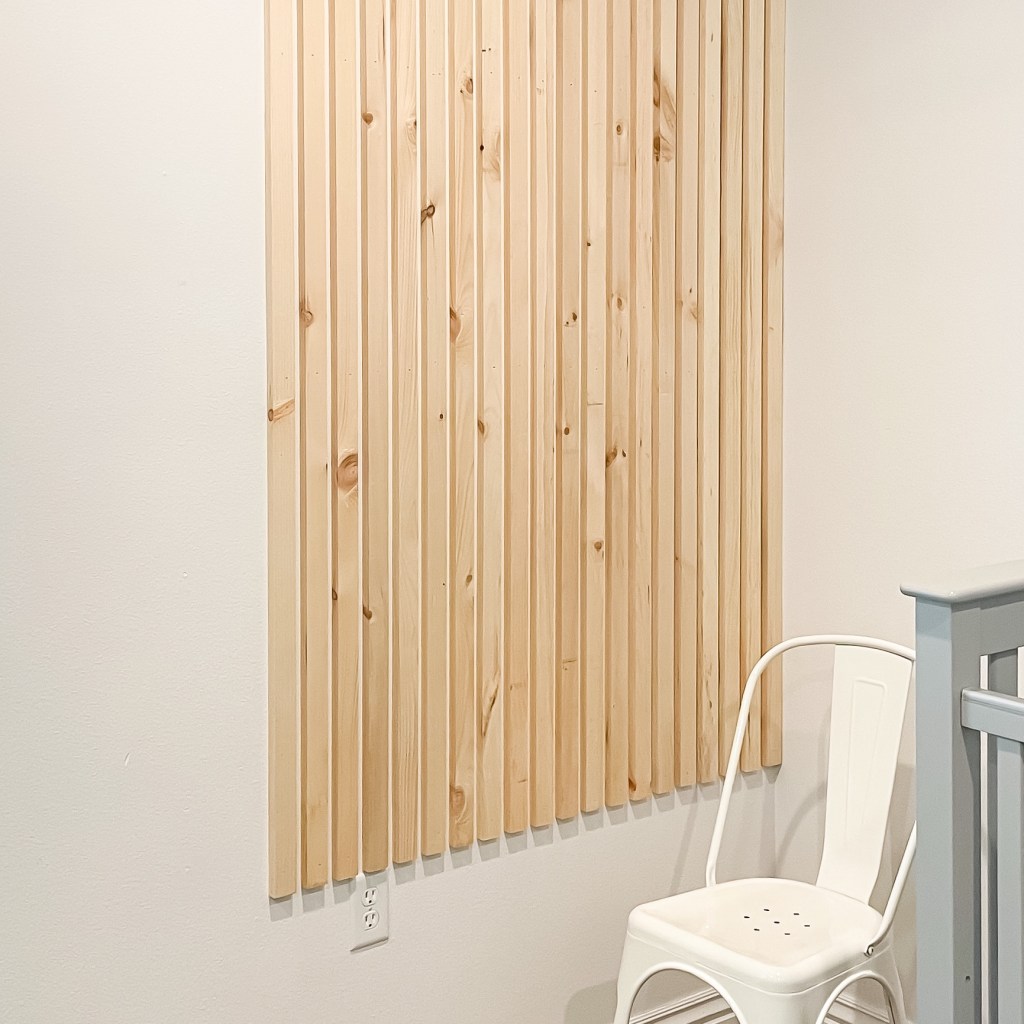
To do the slat wall I first located my studs in the wall. I made sure that at least 2 of my slats were attached to the studs. This is important because these will support the weight of the bookshelves. After some math, I figured out that I could space each slat 3/4” apart. Since my 1×2 boards are 3/4” thick, I used one as a spacer.

I used a brad nailer to attach the slats to the wall. Put a few screws into the slats that are positioned over your studs (try to place these so they’ll be hidden by your shelves – or you can counter sink them and use plugs to cover them up). Make sure you go back and fill your nail holes with wood filler for a finished look.
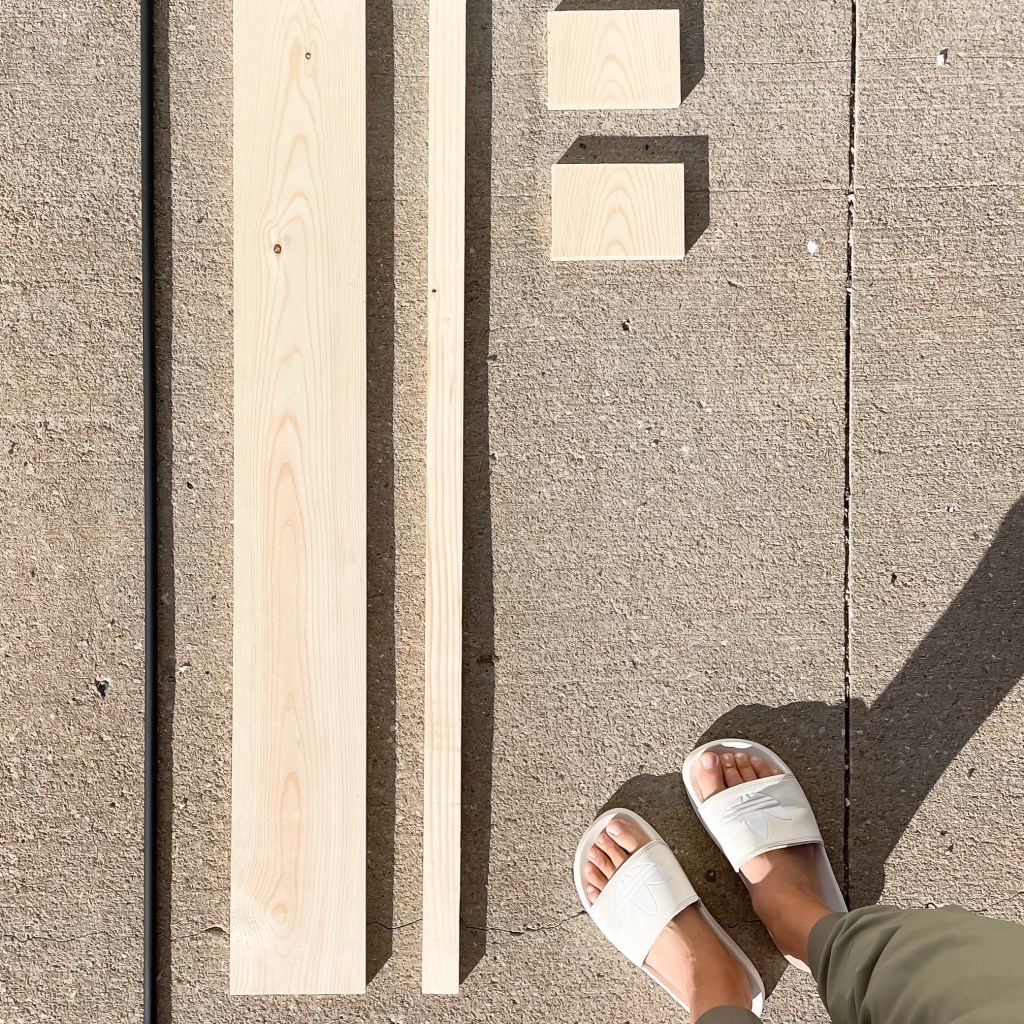
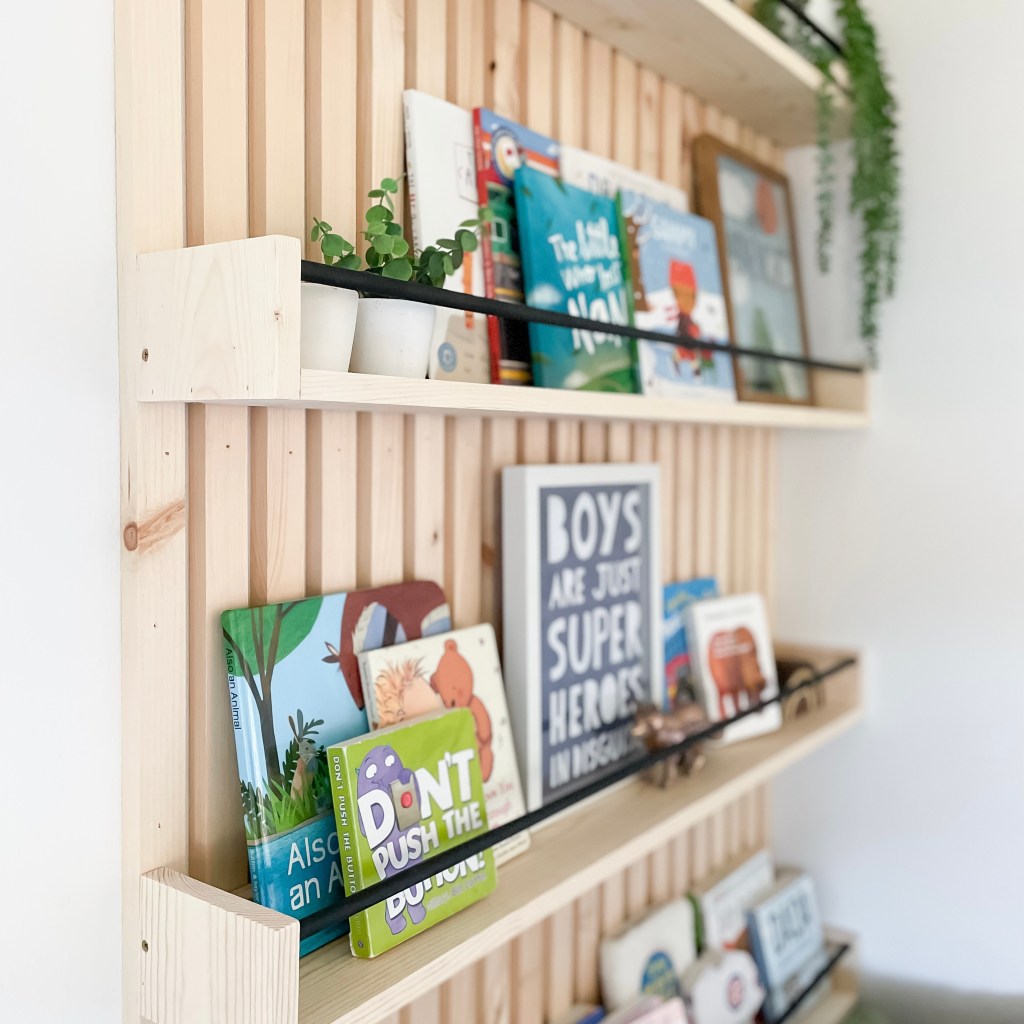
Now it was time to build the shelves. These are relatively simple to assemble as long as you get your cuts right. First I trimmed my boards to the length needed. I then I attached a 1×2 to the back of my 1×6 shelf board with brad nails and a couple of screws along the bottom of the shelf. This is what I’ll use to attach the shelf to the wall.
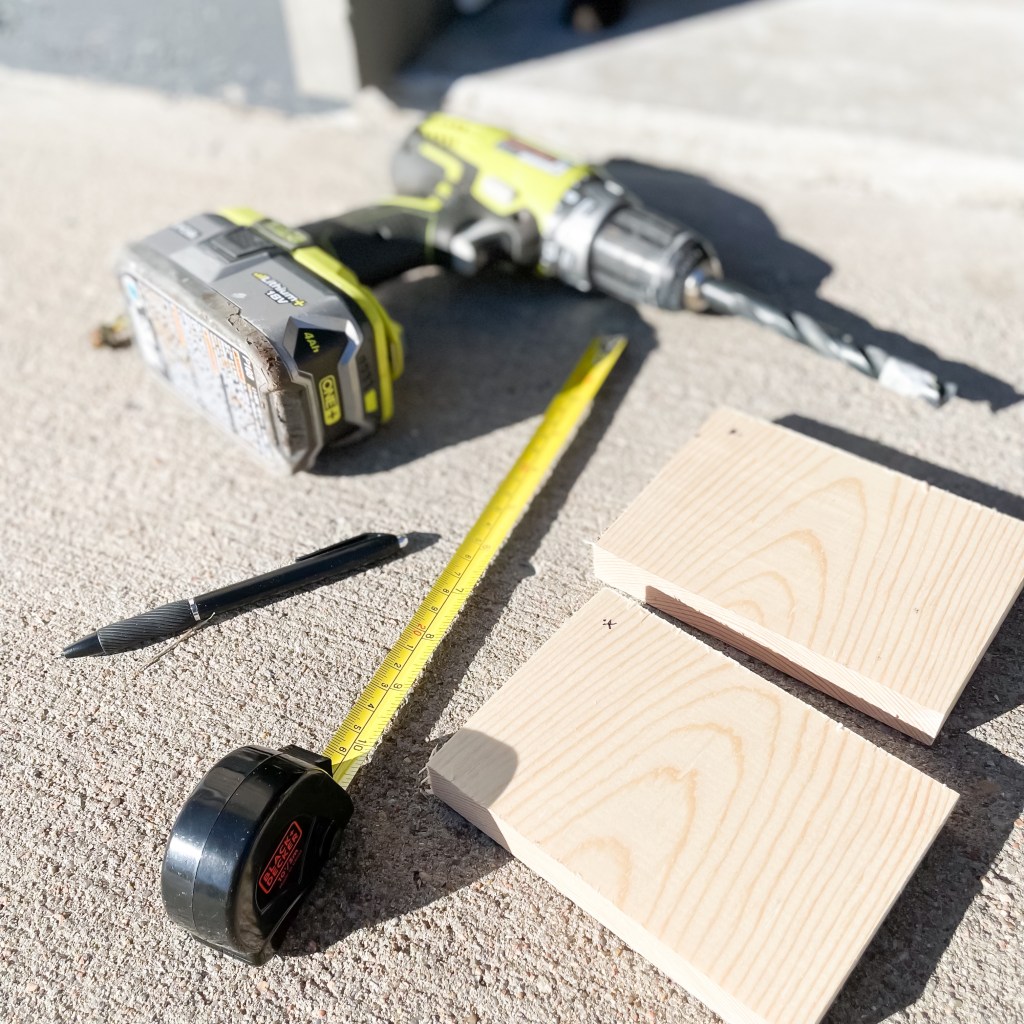
Before you attach the sides of the shelf, you need to mark and drill pilot holes for the front support. I didn’t want to drill all the way through the board, so I placed a piece of tape 1/2” from the end of my 1/2” drill bit so I knew where to stop. Once you have your pilot holes, you can use the brad nailer to attach the sides. Don’t panic if the shelves aren’t perfect. Sand down the shelves to fix any uneven joints and use wood glue or wood filler in any spots where the boards don’t sit flush.


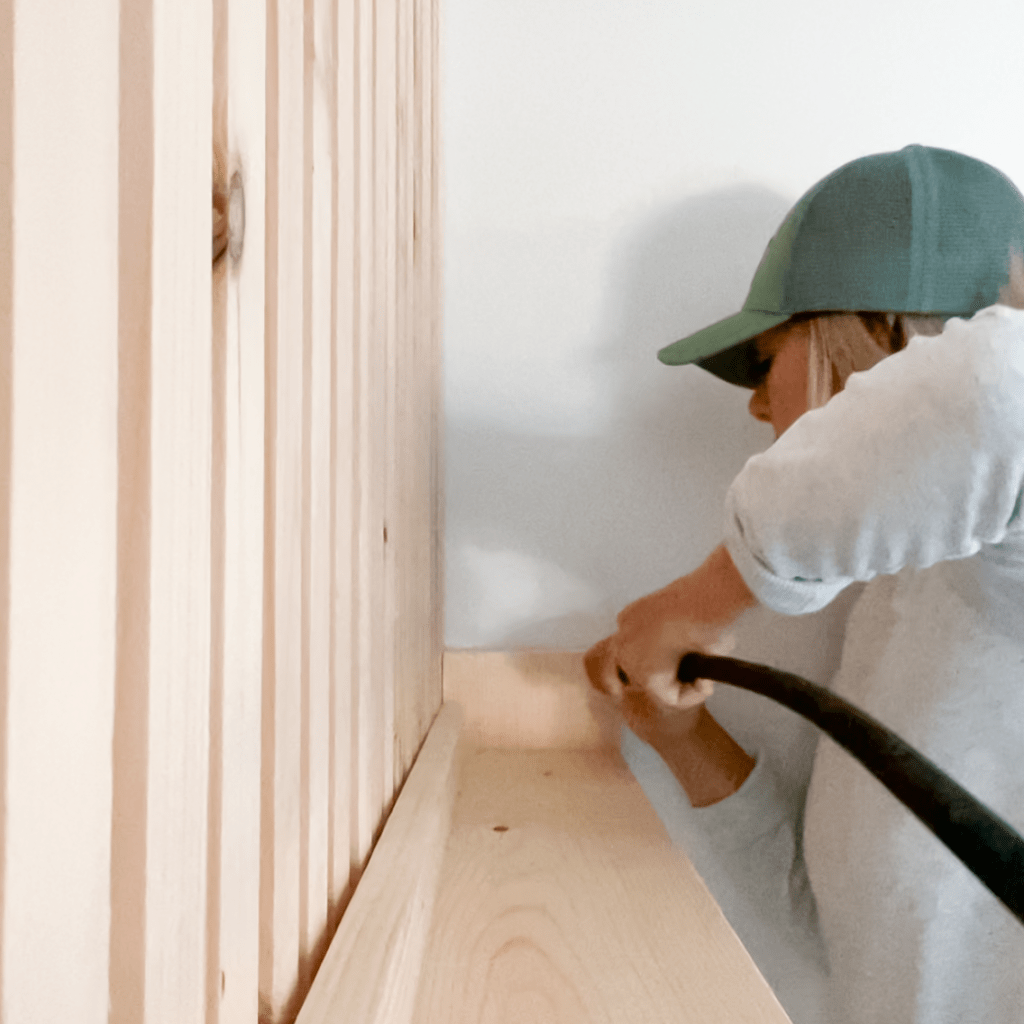
Next, you’ll want to attach your shelves to the wall. Locate the slats that are attached to your stud and make sure you screw the shelves to those first. Then add a few brad nails for extra support. Once your shelf is on the wall you can add your front support. I sprayed mine black for a little contrast. Trim your dowel to size, then place it in one of the pilot holes. You should be able to bend it just enough to fit it into the other side.
Add your books and any other fun decor and you’re done! These shelves are the focal point as you walk into my boys’ room and I am obsessed! Plus now they can find all their favorites easily. If you try this project, I’d love to see!

How much did it all cost ? This is amazing! I’m itching to fix up my boys room
LikeLike
I can’t remember the exact cost but it was less than $100 for all the supplies. I want to say $80-$85. I can’t speak for lumber prices today though.😅
LikeLike