

This page may contain affiliate links, which means I will receive compensation if you click through and make a purchase.
This project was so fun and SO easy! We have 2 cedar closets in our Master bedroom. One right off the bedroom and one connected to our bathroom. We didn’t really have a need for 2 huge closets, and with baby #2 due in just a few short weeks, I really wanted to make sure we had a dedicated workspace set up before his arrival – not only for when my husband is working from home, but also because I will be working from home for the 2nd half of my maternity leave.
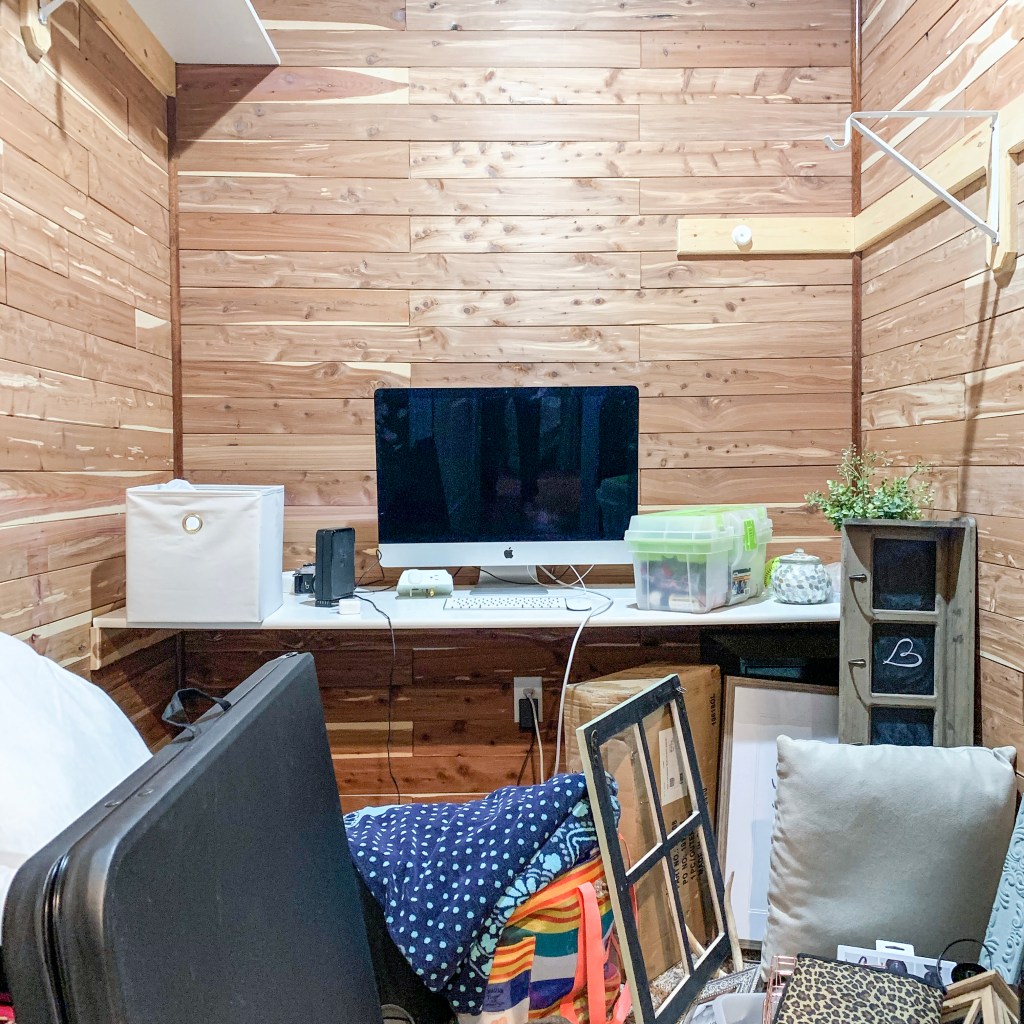
The before: This is what we started with. Just a plain cedar closet…which quickly became our go-to junk room. New house problems. Just looking at this picture gives me so much anxiety.
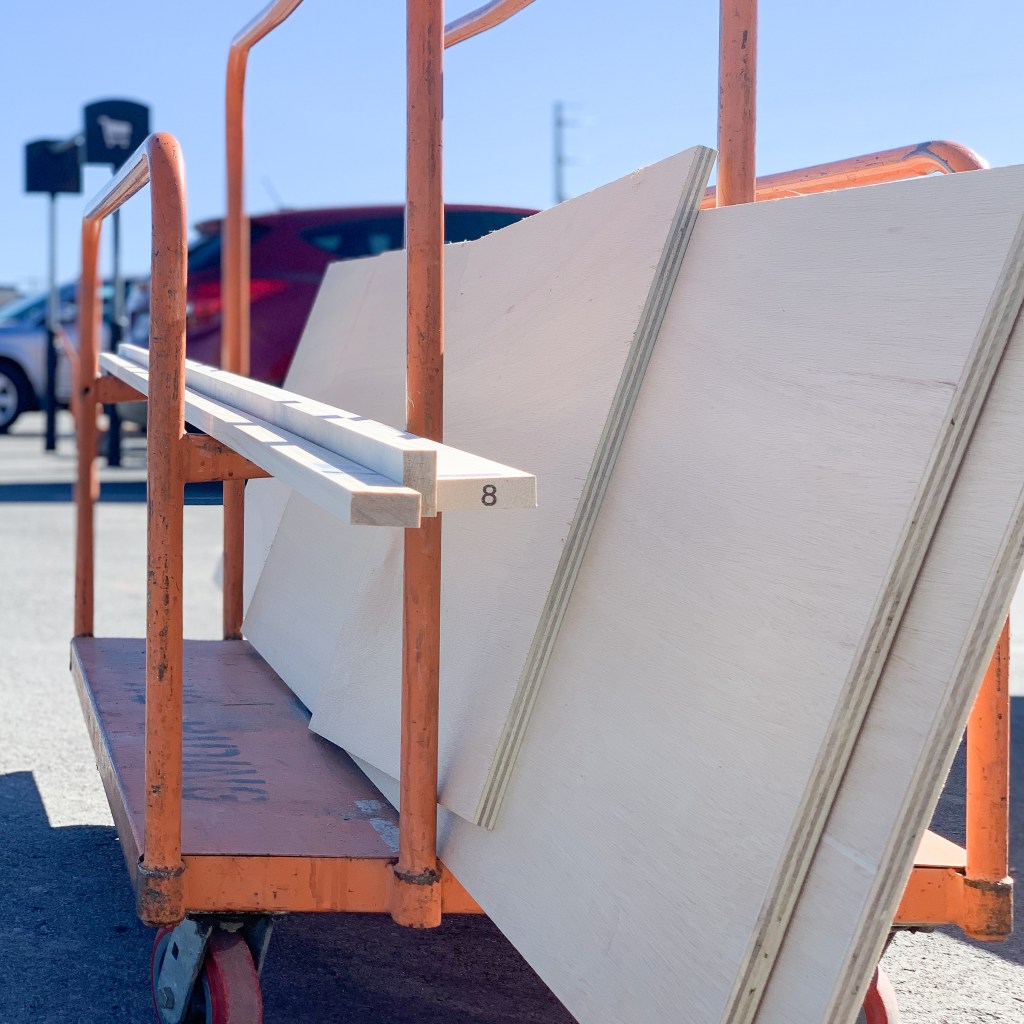
For us, every project starts with a trip to Home Depot…and usually several more after that once we realize what we’ve forgotten. Luckily not the case this time. We got everything we needed in 1 swoop! The supplies we picked up were:
- Desk top: 3/4 in sheet of plywood (we chose Maple – 4 ft x 8 ft – Home Depot cut it down to our specifications)
- Front Trim: 1 in x 3 in x 8 ft board (also Maple)
- Supports: 1 in x 2 in x 8 ft common boards (which we ended up returning because we found some useable lumber in the garage)
- Wood Stain – Early American
Any additional supplies (like wood screws, tools, etc) we already had at home.

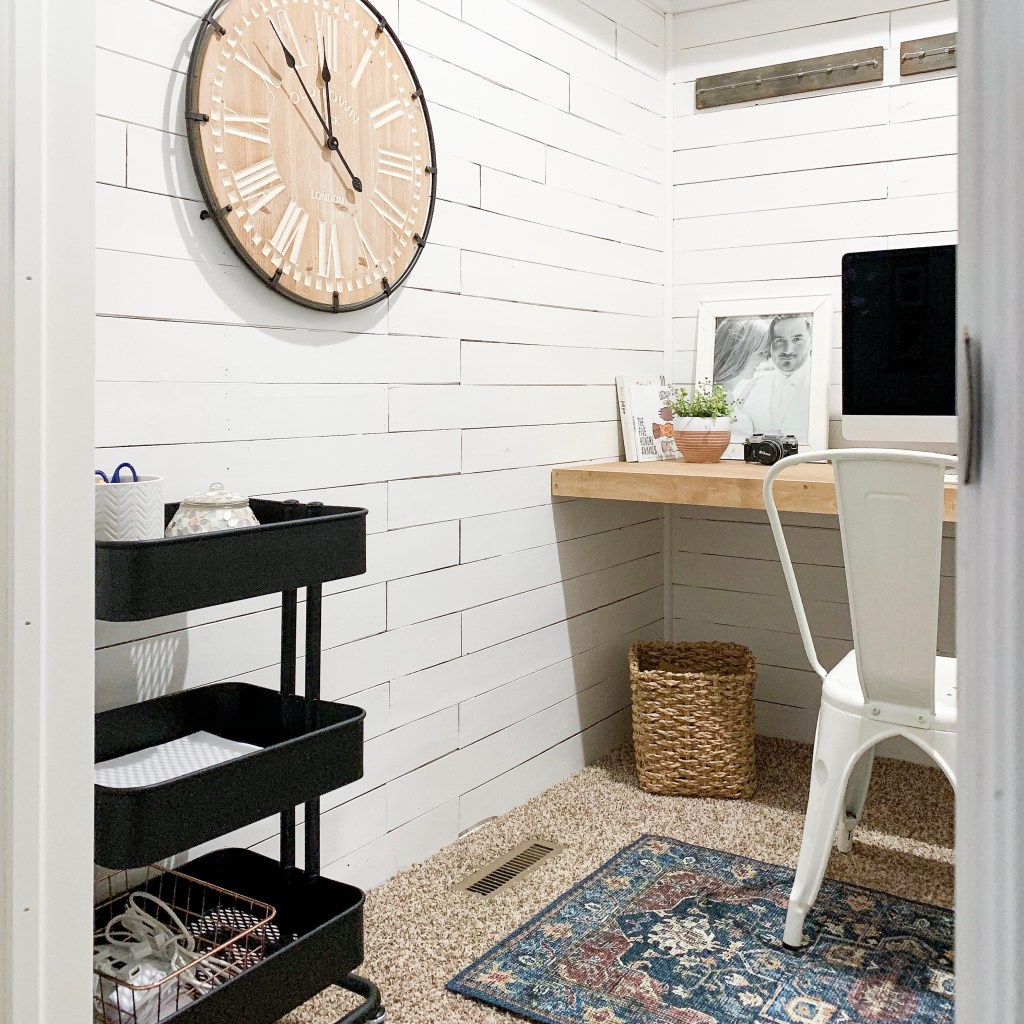
After we cleared everything out, our first step was to paint! My husband’s most favorite pastime. We really wanted to brighten up the space since there are no windows, so we chose Cameo White by Behr. We’ve used it in several rooms throughout the house and love it. It’s the perfect amount of white without being too white.
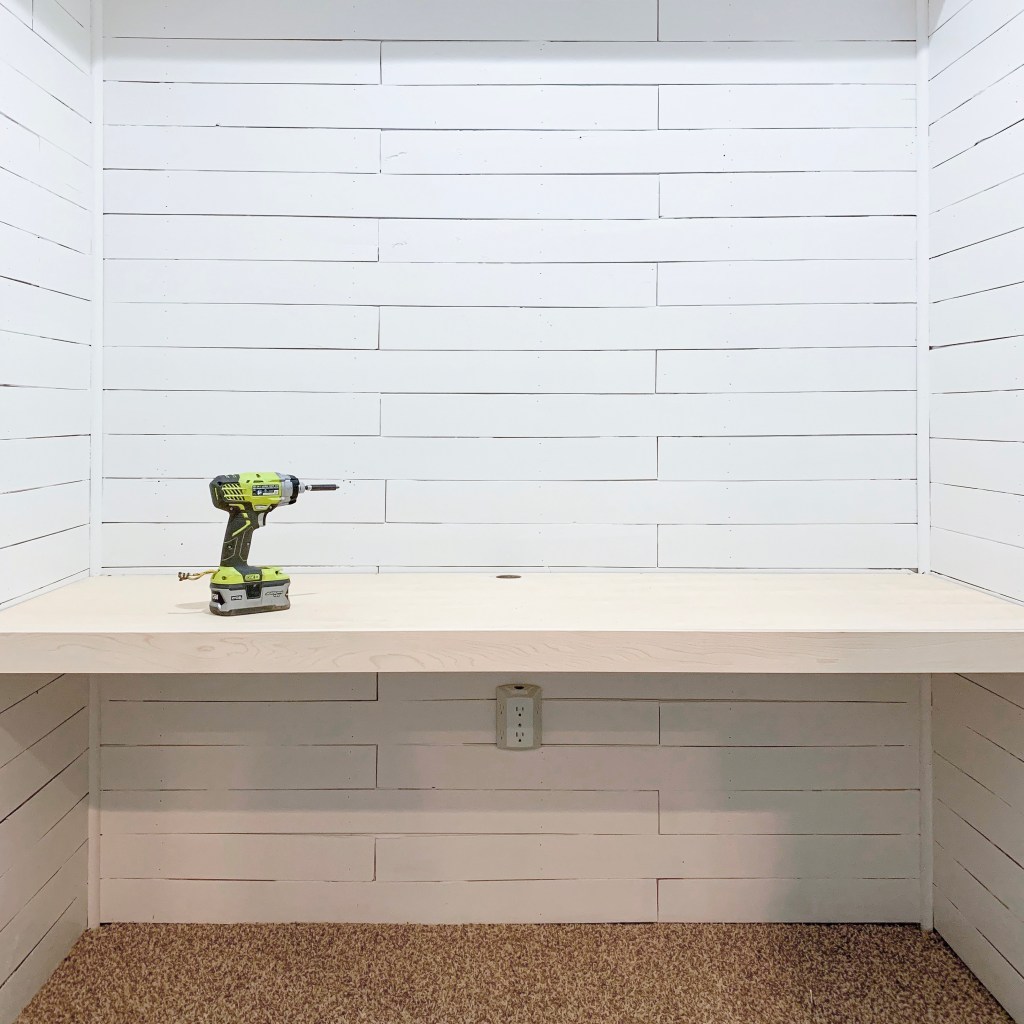
Next came the desk install and you guys…this was SO easy. We are NOT super handy people. We are the type who turn to Google or YouTube for most projects. Sometimes it works out great, other times not so much. If you can measure, cut and use a drill – you can build this desk.
First we located the studs – you’ll want to attach your 1×2 supports to those for added strength. Use a level and set your first support at the height you want the desk minus the thickness of your plywood. Be sure to drill pilot holes for your screws otherwise you might split your boards. You can see how we attached the supports in the image above. Nothing fancy. Just a few wood screws and voilà! Support boards are done.
Next we set the plywood desk top onto the supports, and attached the trim board to the front. We also used wood screws here, but it would have looked much nicer with finishing nails – unfortunately we recently discovered that our nail gun is out of commission.
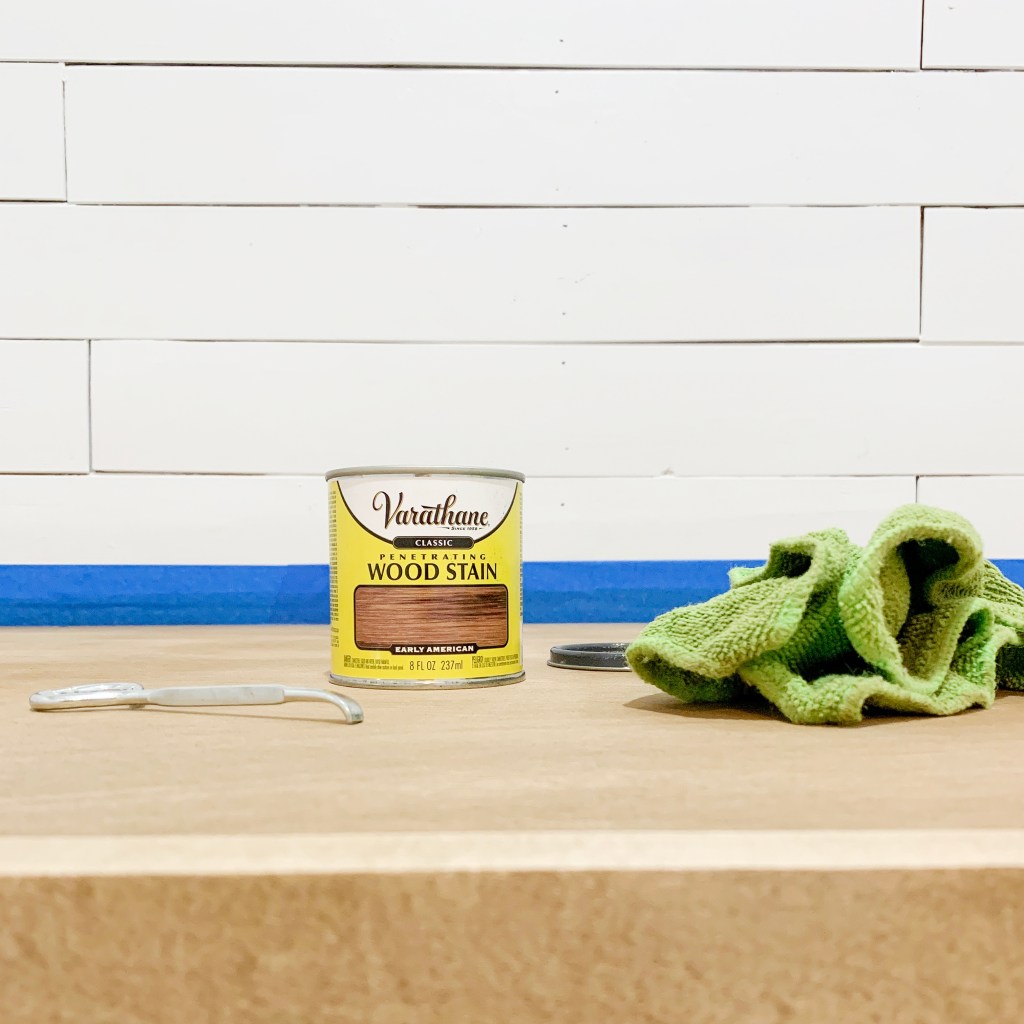
The last step for this desk (if you choose to do so) is to sand & stain. The natural wood color was pretty, but we decided to do a very light coat of Early American. I used a rag to apply it and immediately wiped off the excess. Obviously the more coats you apply, the darker the stain will become.
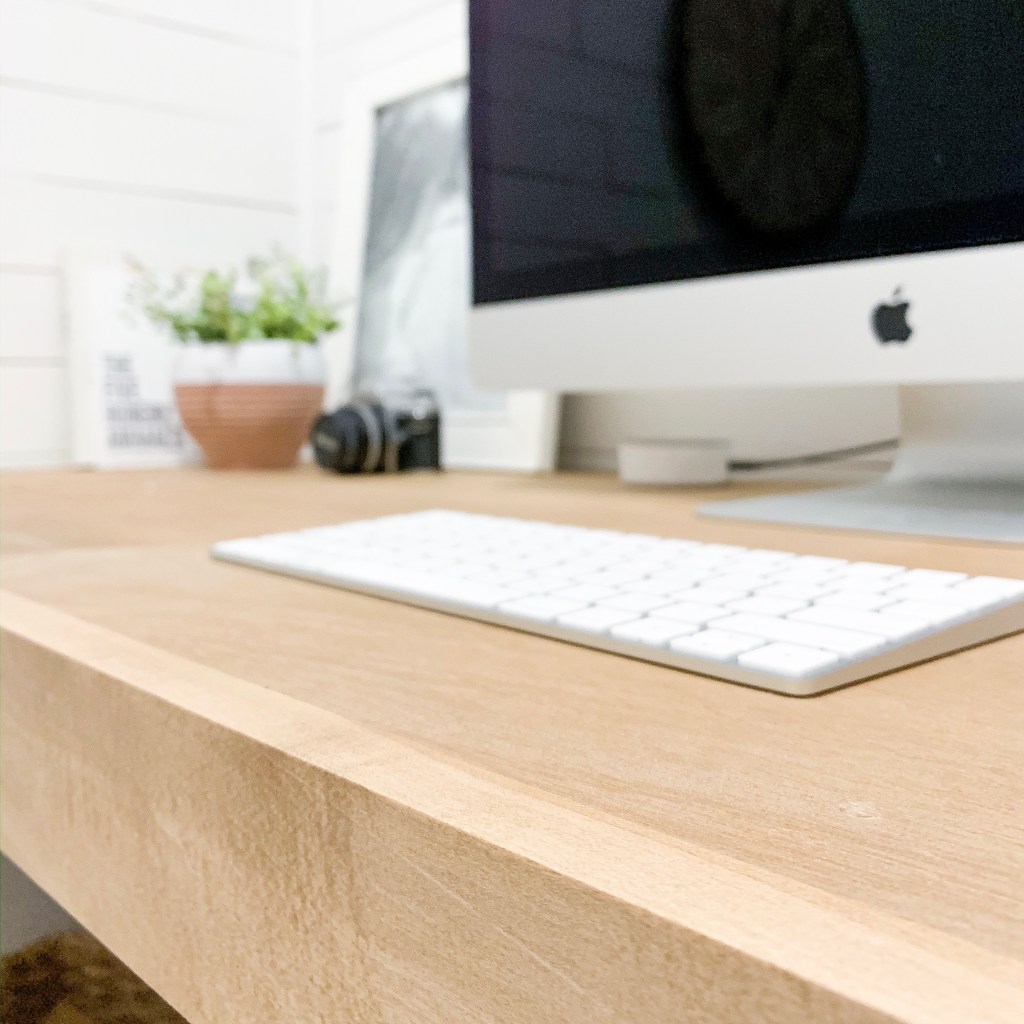
Once the desk was built, and the stain was (mostly) dry – it was time to decorate. More often than not, I tend to lean towards the “fashion over function” side of things (while my husband is the complete opposite) but I really wanted this space to not only be pretty, but be completely functional as an office space.
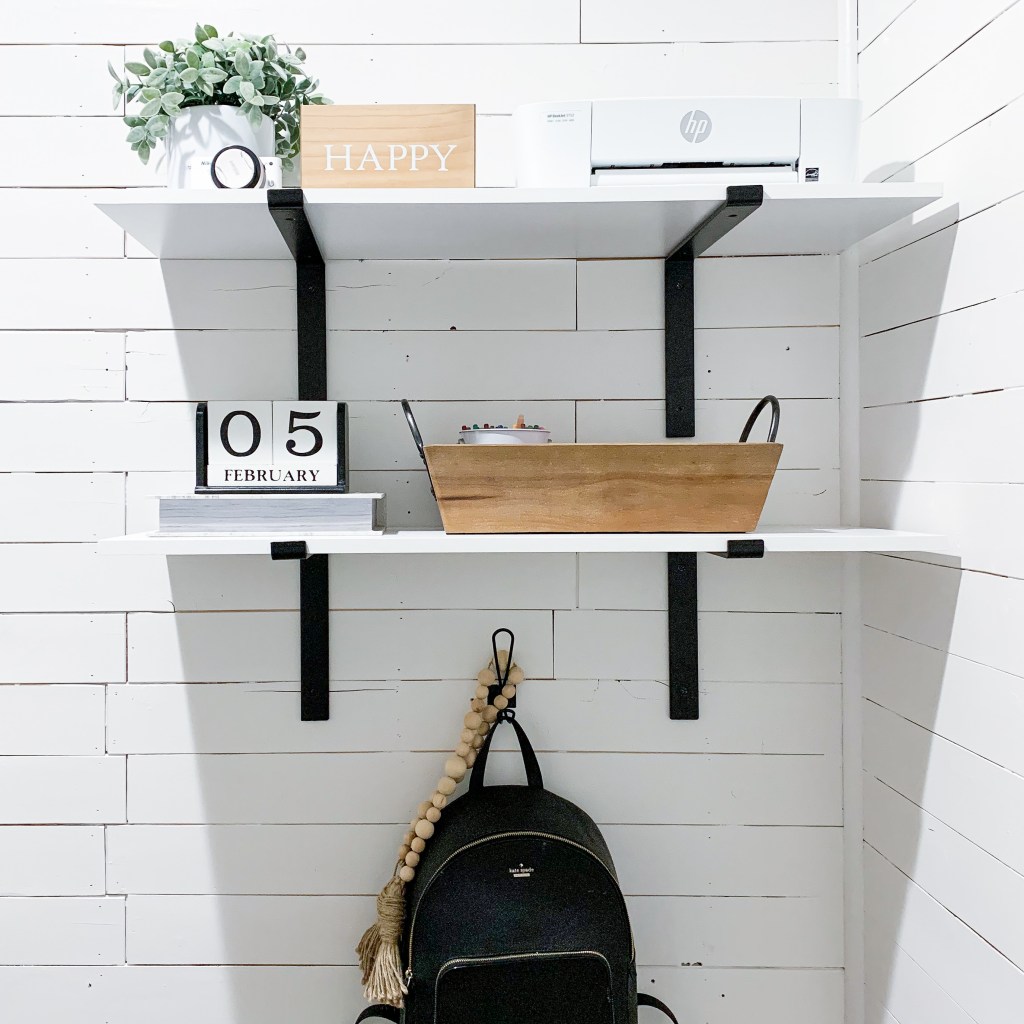
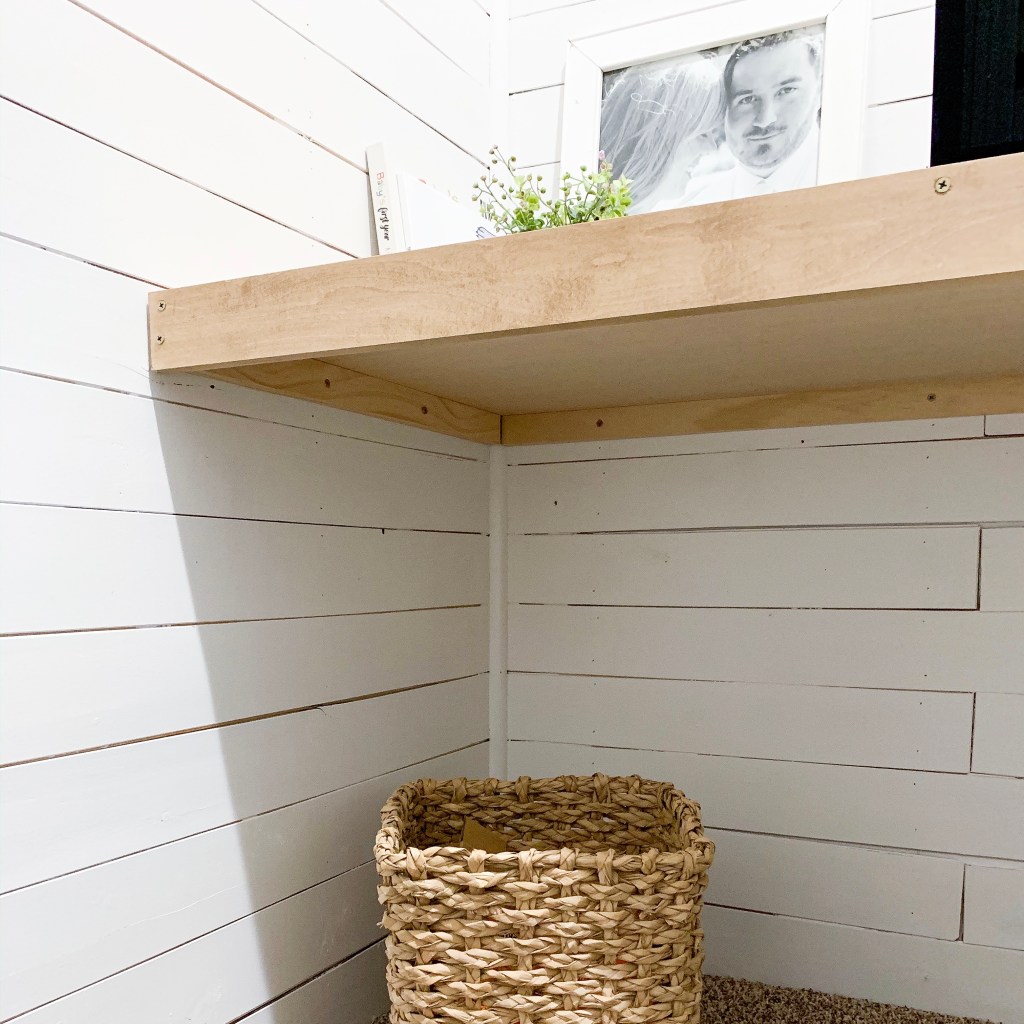
Shelving, a few hooks and some stylish baskets and bins provided much needed storage areas. We were able to repurpose a lot of the shelving that was already in the closet so that was an added cost saving bonus.

I found a few scrap pieces of wood in the garage and made the little display boards you see above. A few eye hooks and some wire and we now have the perfect place to hang artwork, pictures, bills – anything important!
I also repurposed this tiered cart from Ikea that we used in Camden’s nursery. A fresh coat of spray paint (it used to be teal) and now we have a spot to store printer paper, power cords, art supplies, etc.
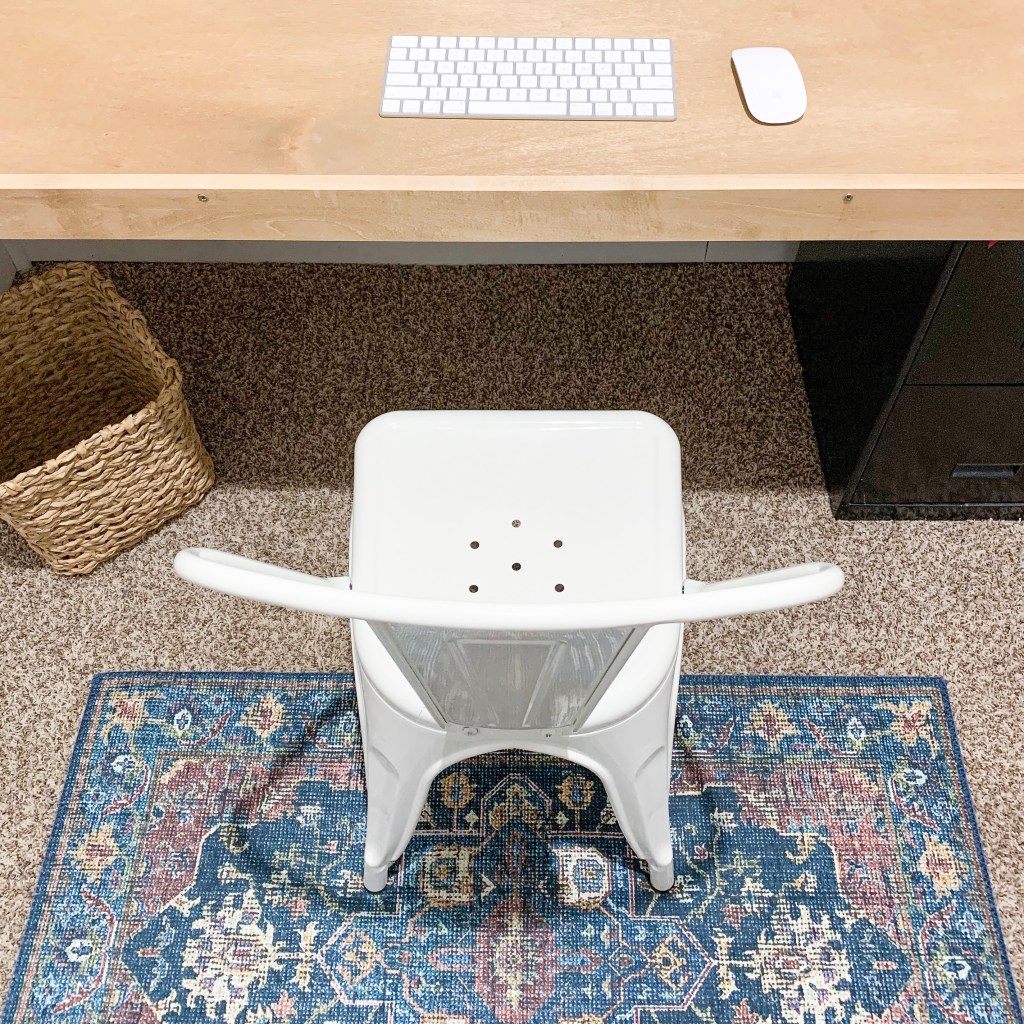
This adorable printed Loloi rug I found on Amazon was the finishing touch. It adds just the right pop of color.

I’m so happy to have this space checked off the to-do list. It was a very simple and quick weekend project and we’ve already used it a ton! If you give this DIY a try, be sure to tag @houseon610th on Instagram.
Paint colors: Walls – Cameo White – Behr

2 thoughts on “DIY Closet to Office Transformation: “The Cloffice””